Range Rover Evoque: Rear Halfshaft RH
Special Tool(s)
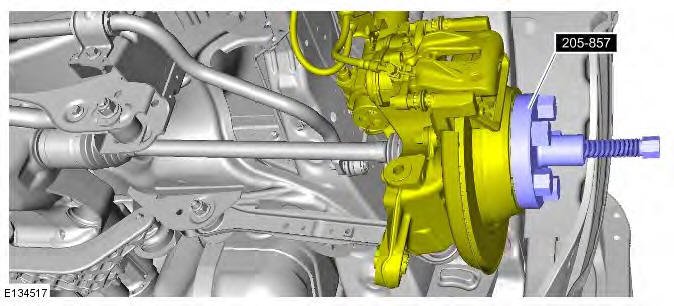
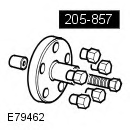 205-857
Remover, Halfshaft
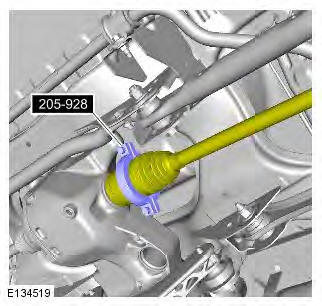
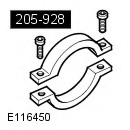 205-928
Remover, Half Shaft Inboard Joint
Removal
CAUTIONS:
Nuts and bolts must be tightened with the weight of the vehicle on the suspension.
Do not allow halfshafts to hang unsupported at one end or joint damage will occur.
Make sure the halfshaft constant velocity (CV) joints do not over articulate. Failure to follow this instruction may result in damage to the CV joints.
Angularly adjusted roller (AAR) joints, used at the inboard end of some halfshafts have no internal retaining mechanism and can separate.
1. WARNING: Make sure to support the vehicle with axle stands. Raise and support the vehicle.
2. Refer to: Wheel and Tire (204-04 Wheels and Tires, Removal and Installation).
3. CAUTIONS:
Do not use air tools to remove the nut.
Discard the nut.
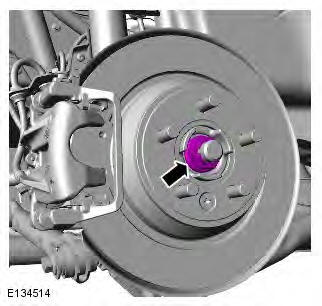
4.
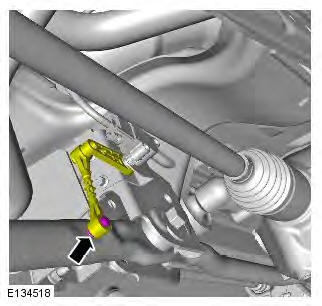
5.
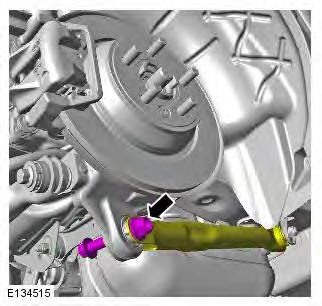
6.
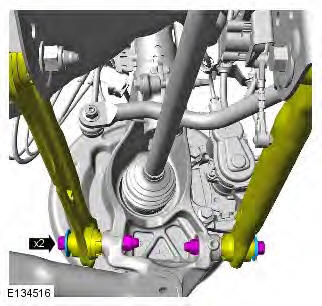
7. CAUTIONS:
Make sure that the driveshaft is supported with suitable retaining straps.
Do not use a hammer to detach the halfshaft from the hub assembly, failure to follow this instruction may result in damage to the halfshaft. Special Tool(s): 205-857
8. Special Tool(s): 205-928
9. CAUTIONS:
Be prepared to collect escaping fluids.
Keep the halfshaft horizontal to avoid damaging the oil seal.
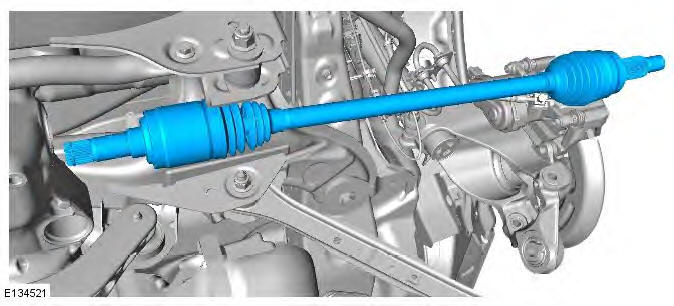
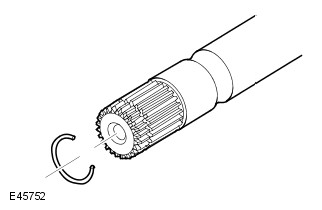
10. CAUTION: Discard the snap ring.
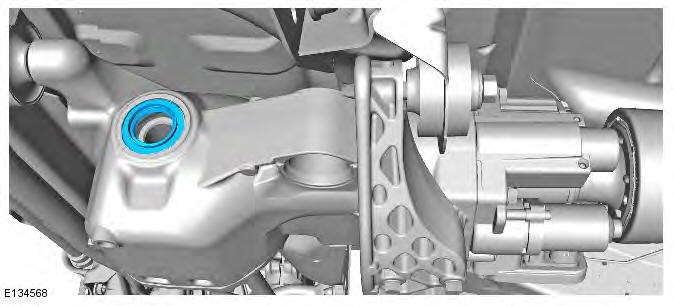
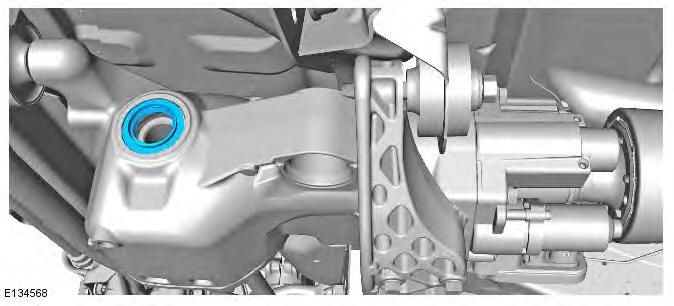
11. CAUTION: Inspect the seal, replace if damaged
Installation
1. NOTE: This step is only required if previously removed.
2. CAUTIONS:
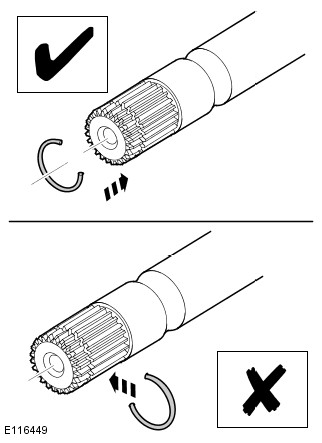
Make sure that the snap ring is installed from the end of the halfshaft. Failure to follow this instruction may result in damage to the vehicle.
Install a new snap ring.
3.
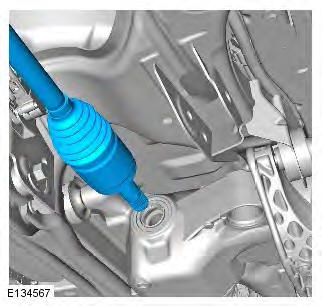
4. CAUTION: Keep the halfshaft horizontal to avoid damaging the oil seal.
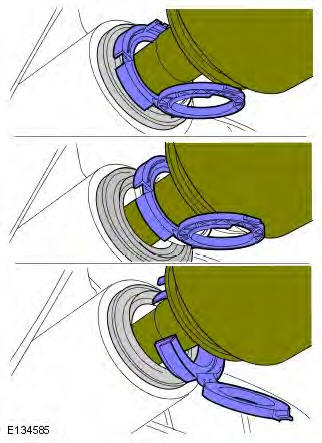
NOTE: Do not fully engage the halfshaft into the axle assembly until the oil seal protector has been removed.
Make sure the snap ring is fully engaged and retains the halfshaft.
5.
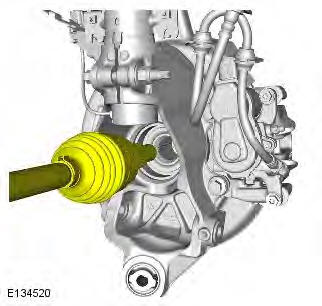
6. Torque: 175 Nm
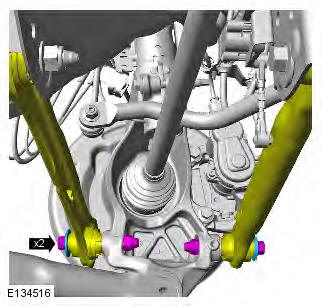
7. Torque: 270 Nm
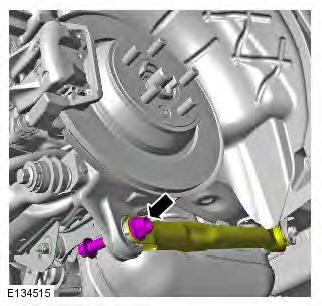
8.
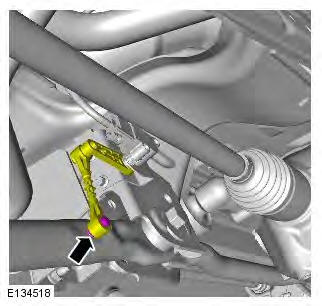
9. WARNING: Make sure that a new nut is installed.
CAUTIONS:
Do not use air tools to install the nut. Failure to follow this instruction may result in damage to the component.
Install the halfshaft nut finger tight.
Tighten the nut without the weight of the vehicle on the suspension.
Torque:
Stage 1: 100 Nm
Stage 2: 90

