Range Rover Evoque: Differential Support Insulator
Removal
1. WARNING: Make sure to support the vehicle with axle stands. Raise and support the vehicle.
2. Support the rear differential using a transmission jack.
3. CAUTION: Mark the components to aid installation.
- Discard the bolts.
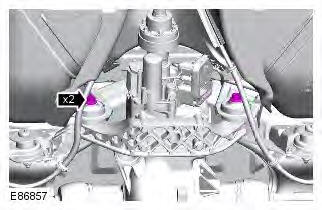
4.
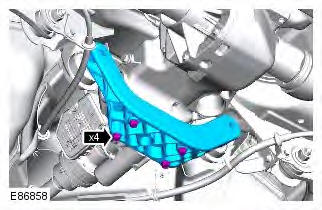
Installation
1. Torque: 35 Nm
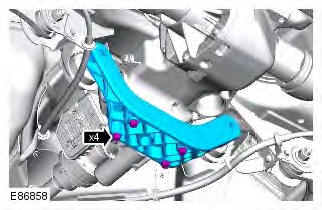
2. CAUTIONS:
Make sure that new bolts are installed.
Make sure that the installation marks are aligned.
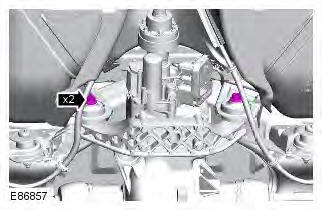
Torque: 175 Nm
Differential Front Bushing
Special Tool(s)
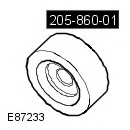 205-860-01
Remover, Differential Bushing
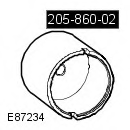 205-860-02
Remover, Differential Bushing
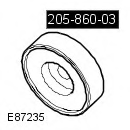 205-860-03
Installer, Differential Bushing
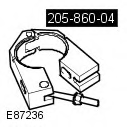 205-860-04
Installer, Differential Bushing
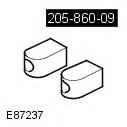 205-860-09
Installer, Differential Bushing
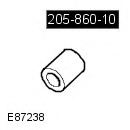 205-860-10
Spacer, Differential Bushing
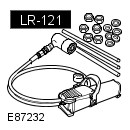 LR-121
Hydraulic Cylinder 10t
Removal
1. WARNING: Make sure to support the vehicle with axle stands. Raise and support the vehicle.
2. Remove both rear wheels and tires.
Refer to: Wheel and Tire (204-04 Wheels and Tires, Removal and Installation).
3. Remove the rear differential.
Refer to: Differential Case - Vehicles With: M66 6-Speed Manual Transmission AWD (205-02 Rear Drive Axle/Differential, Removal and Installation).
Refer to: Differential Case - Vehicles With: AWF21 6-Speed Automatic Transmission (205-02 Rear Drive Axle/Differential, Removal and Installation).
4. CAUTIONS:
Mark the components to aid installation.
Note the fitted position of the component prior to removal.
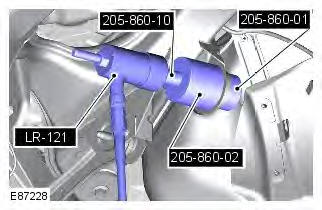
Using the special tools, remove the bushing.
Special Tool(s): 205-860-01, 205-860-02, 205-860-10, LR-121
Installation
1. Using the special tool, compress the bushing.
Special Tool(s): 205-860-09, 205-860-04, LR-121
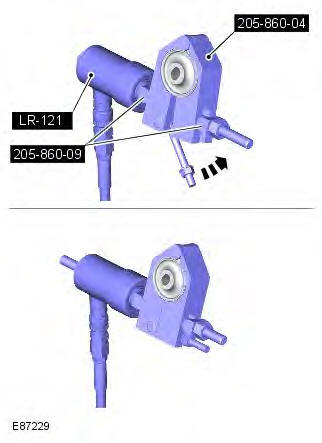
2. CAUTION: Make sure the correct special tool is used to install the bushings to the correct depth.
NOTE: Make sure that these components are installed to the noted removal position.
Using the special tool, install the bushing.
Special Tool(s): 205-860-10, 205-860-01, 205-860-04, 205-860-03, LR-121
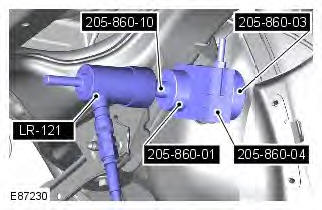
3. Install the rear differential.
Refer to: Differential Case - Vehicles With: M66 6-Speed Manual Transmission AWD (205-02 Rear Drive Axle/Differential, Removal and Installation).
Refer to: Differential Case - Vehicles With: AWF21 6-Speed Automatic Transmission (205-02 Rear Drive Axle/Differential, Removal and Installation).
4. Install the rear wheels and tires.
Refer to: Wheel and Tire (204-04 Wheels and Tires, Removal and Installation).

