Range Rover Evoque: Transfer Case Seal LH TD4 2.2L Diesel
Special Tool(s)
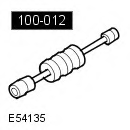 100-012
Slide Hammer
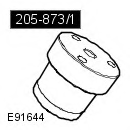 205-873/1
Remover/Installer, Transfer Case Seal
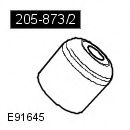 205-873/2
Protector, Transfer Case Seal
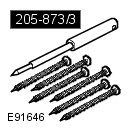 205-873/3
Punch/Screws, Transfer Case Seal
Removal
NOTES:
Removal steps in this procedure may contain installation details.
Some variation in the illustrations may occur, but the essential information is always correct.
1. WARNING: Make sure to support the vehicle with axle stands. Raise and support the vehicle.
2. Refer to: Power Transfer Unit - TD4 2.2L Diesel (308-07B Transfer Case - Vehicles With: AWF21 6-Speed Automatic Transmission/M66 6-Speed Manual Transmission AWD, Removal and Installation).
3. CAUTIONS:
Take extra care not to damage the seal.
Inspect the seal, replace if damaged
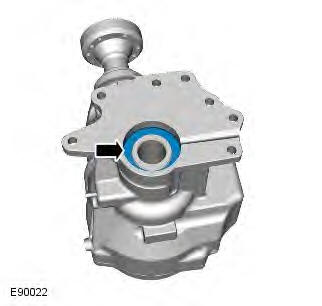
4. CAUTIONS: Make sure that the area around the component is clean and free of foreign material.
Take extra care not to damage the mating faces.
- Special Tool(s): 205-873/1
- Special Tool(s): 205-873/2
- Special Tool(s): 205-873/3
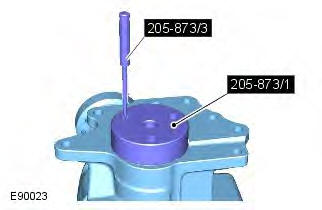
5.
- Special Tool(s): 205-873/1
- Special Tool(s): 205-873/2
- Special Tool(s): 205-873/3
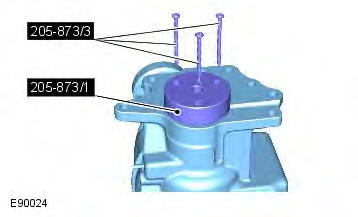
6.
- Special Tool(s): 205-873/1
- Special Tool(s): 205-873/2
- Special Tool(s): 205-873/3
- Special Tool(s): 100-012
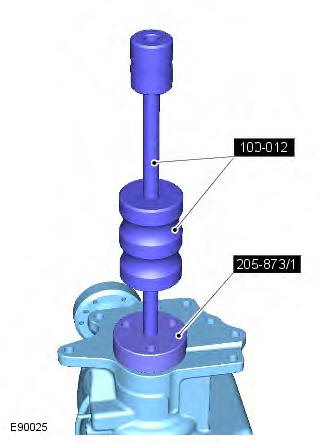
Installation
1. CAUTION: A soft faced hammer should be used to avoid damaging the special tool and creating debris.
- Special Tool(s): 205-873/1
- Special Tool(s): 205-873/2
- Special Tool(s): 205-873/3
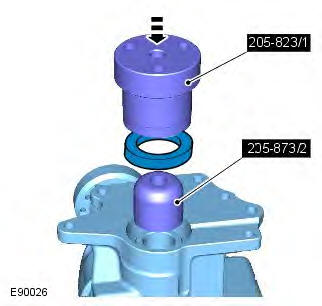
2. To install, reverse the removal procedure.
3. Refer to: Power Transfer Unit - TD4 2.2L Diesel (308-07B Transfer Case - Vehicles With: AWF21 6-Speed Automatic Transmission/M66 6-Speed Manual Transmission AWD, Removal and Installation).
4. Check and top-up the transfer case fluid level.
Refer to: Transfer Case Fluid Level Check (308-07B Transfer Case - Vehicles With: AWF21 6-Speed Automatic Transmission/M66 6-Speed Manual Transmission AWD, General Procedures).

