Range Rover Evoque: Engine Wiring Harness TD4 2.2L Diesel, Vehicles With: M66 6-Speed Manual Transmission AWD/M66 6-Speed Manual Transmission FWD

Land Rover Range Rover Evoque L538 (2011–2018) Service Manual / Electrical Distribution & Electronic Feature Group / Wiring Harnesses / Engine Wiring Harness TD4 2.2L Diesel, Vehicles With: M66 6-Speed Manual Transmission AWD/M66 6-Speed Manual Transmission FWD

Removal

CAUTIONS: Make sure that the wiring harness is not twisted or damaged on removal. Failure to follow this instruction may result in damage to the vehicle.

Take extra care not to damage the wiring harness clips.

NOTES: Some variation in the illustrations may occur, but the essential information is always correct.

Removal steps in this procedure may contain installation details.

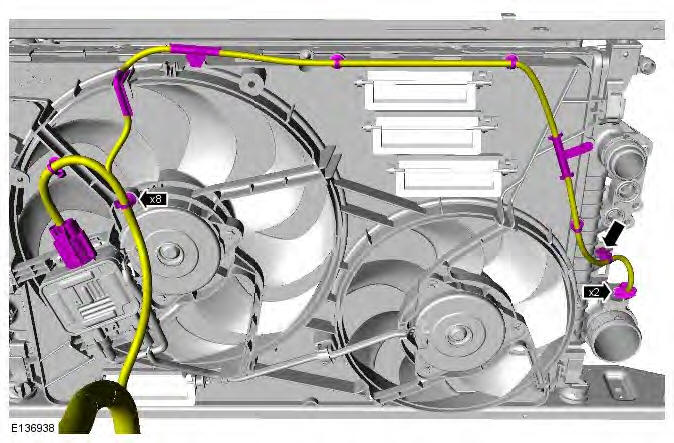
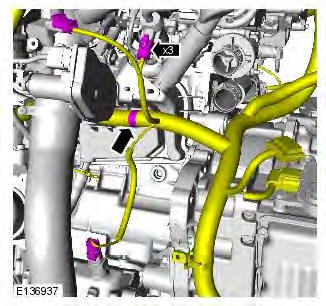
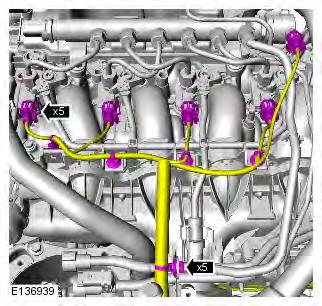
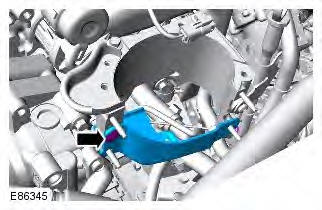
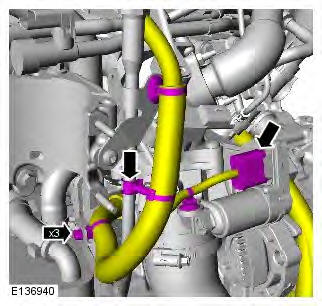
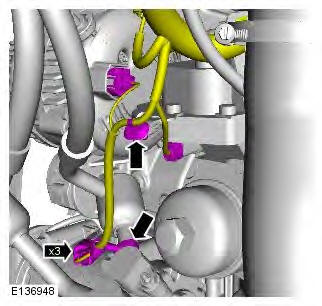
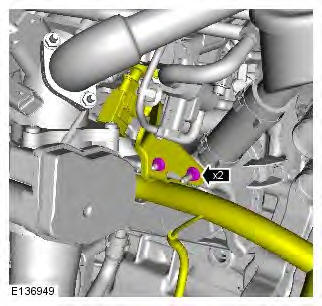
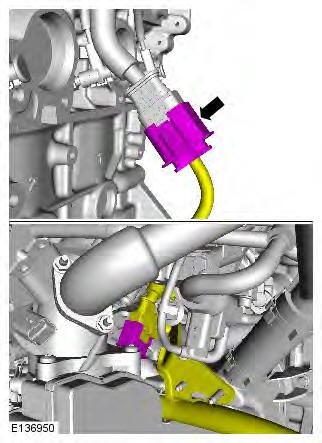
Note the position of the wiring harnesses to aid installation.

1. WARNING: Make sure to support the vehicle with axle stands. Raise and support the vehicle.

2. Refer to: Battery Tray (414-01 Battery, Mounting and Cables, Removal and Installation).

3. Refer to: Secondary Bulkhead Center Panel - TD4 2.2L Diesel (501-02 Front End Body Panels, Removal and Installation).

4. Refer to: Starter Motor (303-06A Starting System - TD4 2.2L Diesel, Removal and Installation).

5. Refer to: Fuel Filter (310-01A Fuel Tank and Lines - TD4 2.2L Diesel, Removal and Installation).

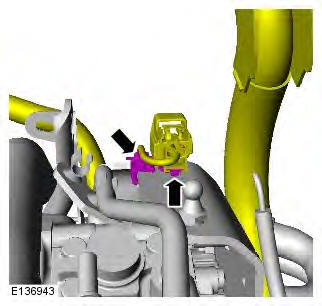
6.
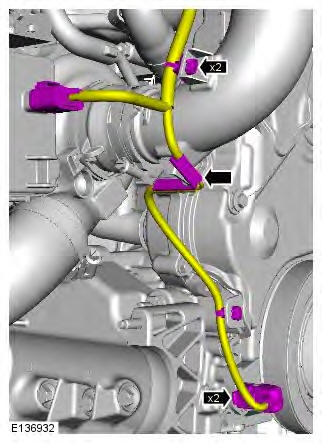
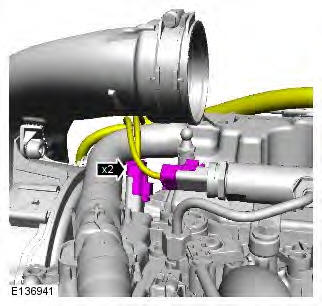
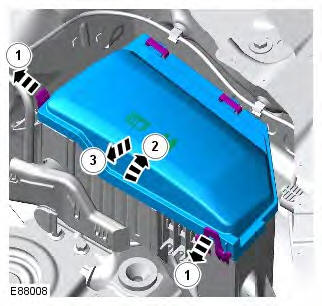
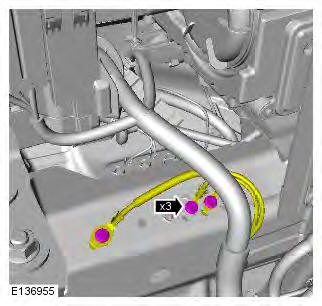
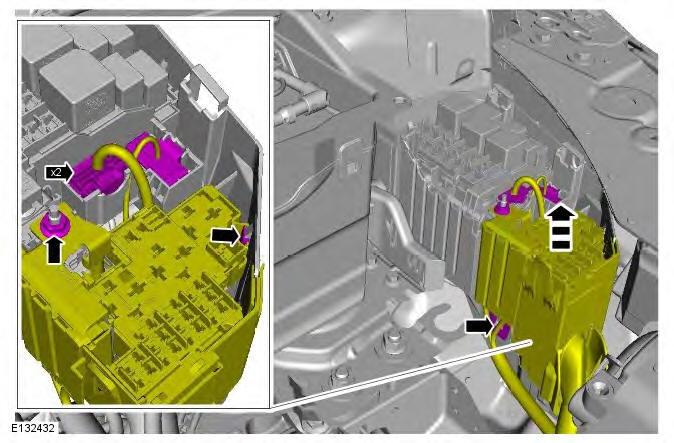
Range Rover Evoque. Wiring Harnesses

7. Remove the LH front wheel arch liner.

Refer to: Fender Splash Shield (501-02 Front End Body Panels, Removal and Installation).

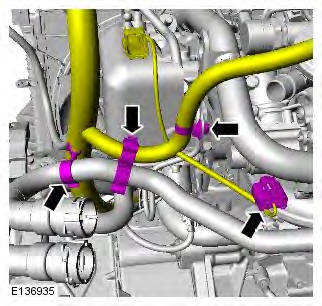
8.
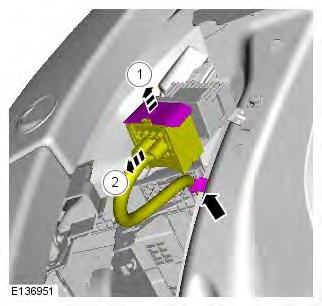
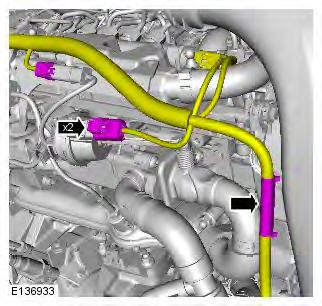
Range Rover Evoque. Wiring Harnesses

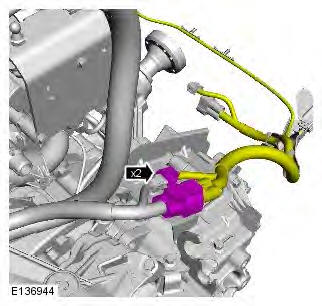
9.

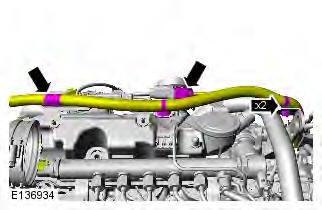
Range Rover Evoque. Wiring Harnesses

10.

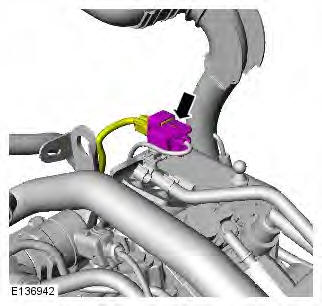
Range Rover Evoque. Wiring Harnesses

11.

Range Rover Evoque. Wiring Harnesses

12.

Range Rover Evoque. Wiring Harnesses

13.

Range Rover Evoque. Wiring Harnesses

14.

Range Rover Evoque. Wiring Harnesses

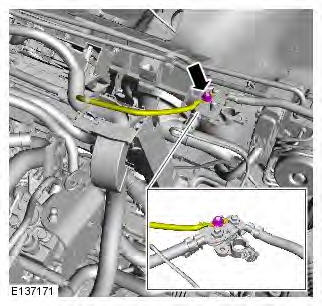
15. Torque: 10 Nm

Range Rover Evoque. Wiring Harnesses

16.

Range Rover Evoque. Wiring Harnesses

17.

Range Rover Evoque. Wiring Harnesses

18.

Range Rover Evoque. Wiring Harnesses

19.

Range Rover Evoque. Wiring Harnesses

20.

Range Rover Evoque. Wiring Harnesses

21.

Range Rover Evoque. Wiring Harnesses

22.

Range Rover Evoque. Wiring Harnesses

23.

Range Rover Evoque. Wiring Harnesses

24.

Range Rover Evoque. Wiring Harnesses

25.

Range Rover Evoque. Wiring Harnesses

26.

Range Rover Evoque. Wiring Harnesses

27. Torque: 8 Nm

Range Rover Evoque. Wiring Harnesses

28.

Range Rover Evoque. Wiring Harnesses

29.

Range Rover Evoque. Wiring Harnesses

30. Torque: 10 Nm

Range Rover Evoque. Wiring Harnesses

31. Torque: 10 Nm

Range Rover Evoque. Wiring Harnesses

32. NOTE: Note the position of the wiring harnesses to aid installation.
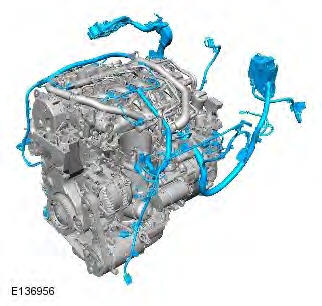
Range Rover Evoque. Wiring Harnesses

Installation

1. CAUTIONS: Make sure that the wiring harness is not twisted or damaged on installation. Failure to follow this instruction may result in damage to the vehicle.

Make sure the the electrical harness is not trapped during the installation.

NOTE: Make sure that the harness is routed to the position noted on removal.

To install, reverse the removal procedure.

READ NEXT:

 Anti-Theft - Active

Anti-Theft - Active - Component Location COMPONENT LOCATION RH (right-hand) front door module RH front door latch mechanism Radio Frequency (RF) receiver RH rear door module RH rear door latch

 Anti-Theft - Passive

Anti-Theft - Passive - Component Location COMPONENT LOCATION Instrument cluster Start/stop button Radio Frequency (RF) receiver Interior antennas Keyless Vehicle Module (KVM) Immobilizer Anten

 Navigation System

Navigation System Principles of Operation NOTE: This navigation system is installed in selected Asia market vehicles only. For a detailed description of the navigation system, refer to the relevant

SEE MORE:

 Rear Seat Cushion Cover

Removal NOTE: Removal steps in this procedure may contain installation details. 1. Prior to carrying out the step by step procedure below, Steps 2 and 3 must be followed for knowledge on how to correctly install and care for the seat cover. 2. 3. 4. If required, follow the steps below to carry out

 Tyre pressure monitoring (TPM) system

The TPM system provides a low pressure warning and does not re-inflate your tyres. Tyre pressures should be checked regularly using an accurate pressure gauge when cold. The TPM system can NOT register damage to a tyre. Regularly check the condition of your tyres, especially if the vehicle

© 2011-2024 Copyright www.rrevoque.org