Range Rover Evoque: Liftgate Window Glass
Removal
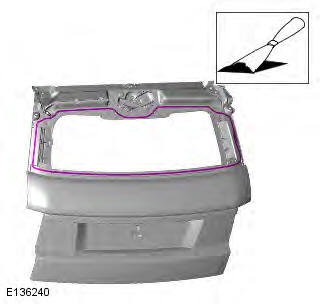
1. Refer to: Rear Spoiler (501-08 Exterior Trim and Ornamentation, Removal and Installation).
2.
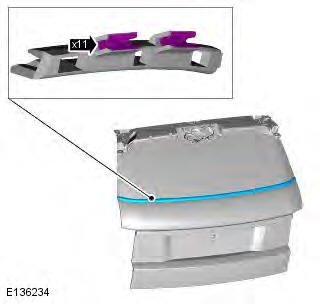
3.

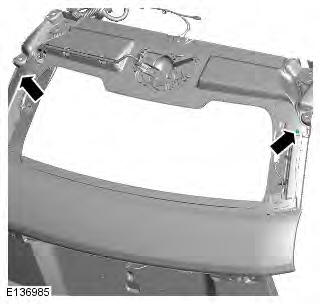
4. CAUTION: The step must be carried out on both sides.
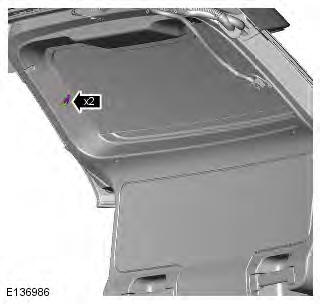
5. CAUTIONS:
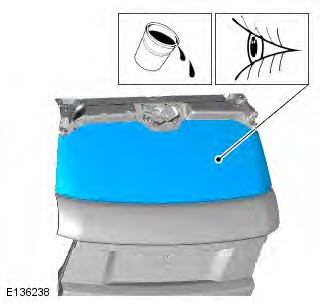
Protect the surrounding components.
Protect the surrounding paintwork to avoid damage.
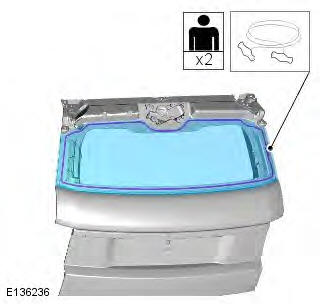
- Use a glazing cutting wire to cut the sealant.
- Pull glazing wire through windshield sealant to the inside of the vehicle.
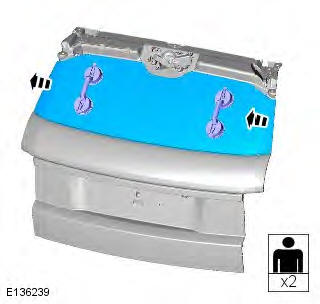
6. NOTE: This step requires the aid of another technician.
Installation
1. CAUTIONS:
Make sure that the mating faces are clean and free of foreign material.
Correct preparation of body apertures 'post painting' to ensure satisfactory glass adhesion, must be carried out in line with industry practise.
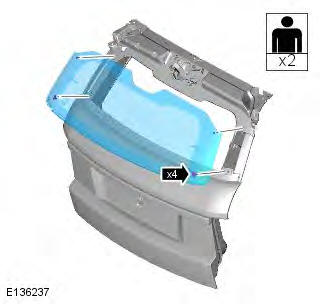
2. NOTE: Install new spacers.
3. CAUTION: The tailgate is manufactured from plastic. Make sure that appropriate bonding component is applied before the PU adhesive.
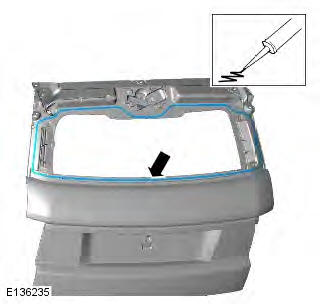
4. Prepare the window glass, window glass flange and trimmed PU adhesive in accordance with the instructions included with the PU adhesive kit.

5. NOTE: This step requires the aid of another technician.
6. Test the sealer for leaks, apply additional sealer if necessary. If water is used, allow sealer to dry before testing. Spray water around the glass and check for leaks. Mark any area that leaks. Dry the glass and sealer then apply additional sealer.
7. To install, reverse the removal procedure.
READ NEXT:
 Windshield Glass
Removal
CAUTIONS:
Always protect paintwork and glass when removing exterior components.
Always protect the interior components when removing body glass.
Lay the glass on felt covered supports. Do no
Front Door Window Regulator and Motor
Removal
NOTE: Removal steps in this procedure may contain installation details.
1. WARNING: To avoid accidental deployment, the restraints
control module backup power supply must be depleted. Wait at
Glass Roof Panel
Removal
CAUTIONS:
Always protect paintwork and glass when removing exterior components.
Always protect the interior components when removing body glass.
Measure all gaps between the glass roof panel
SEE MORE:
Important information
The information contained in this handbook covers all vehicle derivatives and
optional equipment,
some of which may not be fitted to your vehicle. Due to printing cycles, this
handbook may include
descriptions of options before they become generally available.
The vehicle options, hardware an
Symbols used in this handbook
Safety warnings indicate either a procedure which must be followed
precisely, or
information that should be considered with great care, in order to avoid the
possibility
of personal injury.
Cautions indicate either a procedure which must be followed precisely, or
information that
should
