Range Rover Evoque: Rear Door Trim Panel
Land Rover Range Rover Evoque L538 (2011–2018) Service Manual / Body and Paint / Interior Trim and Ornamentation / Rear Door Trim Panel
Removal
NOTE: Removal steps in this procedure may contain installation details.
1. Torque: 1.3 Nm
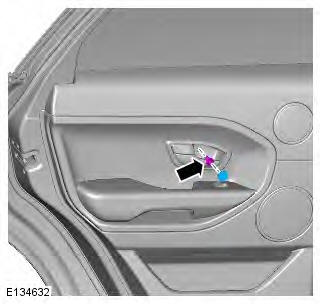
2. Torque: 6 Nm
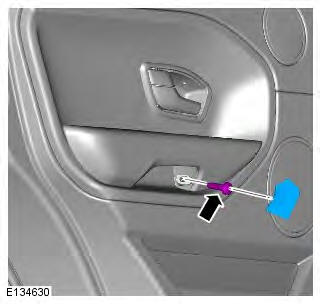
3. Torque: 6 Nm
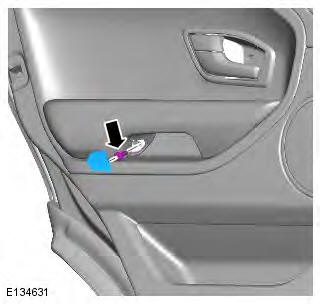
4.
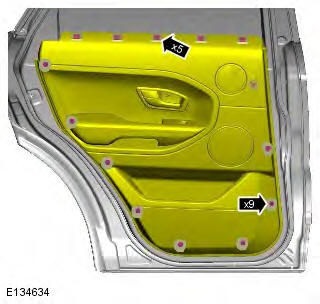
5.
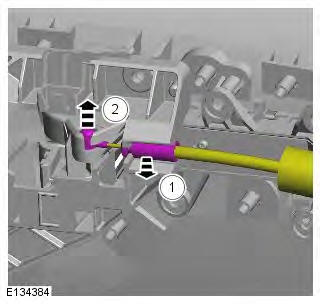
6.
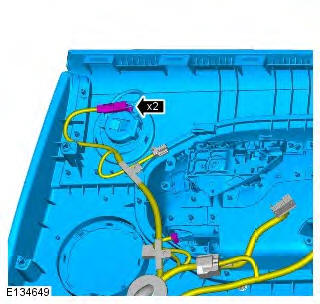
7. NOTE: Do not disassemble further if the component is removed for access only.
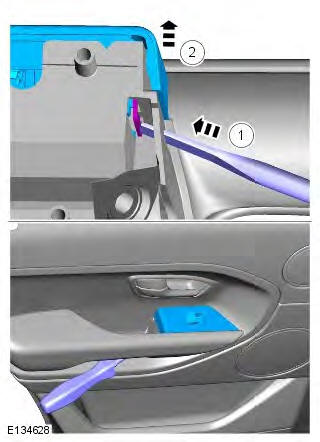
8. Torque: 0.6 Nm
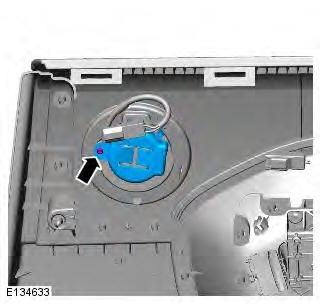
9.
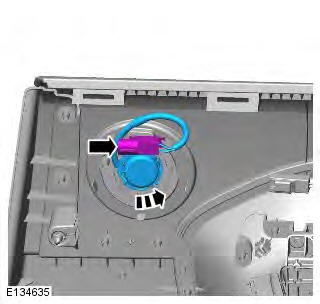
10. Torque: 1 Nm
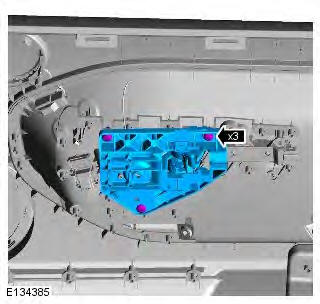
11.
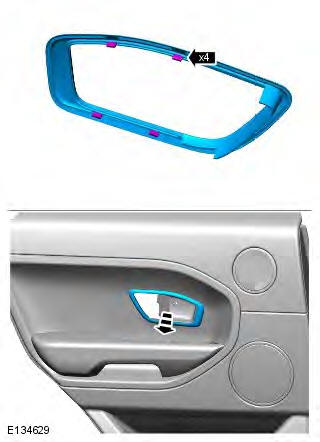
Installation
1. To install, reverse the removal procedure.
Liftgate Trim Panel
Removal
NOTE: Removal steps in this procedure may contain installation details.
1. Disconnect the battery ground cable.
Refer to: Specifications (414-01 Battery, Mounting and Cables, Specifications).
2. NOTE: Make sure the two metal clips are removed from the liftgate.
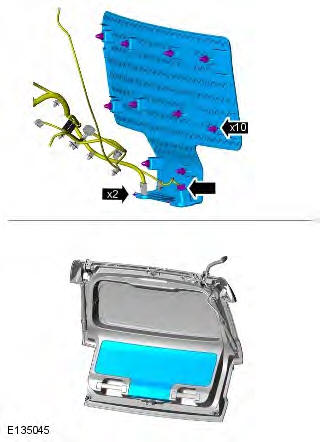
3. NOTE: Do not disassemble further if the component is removed for access only.
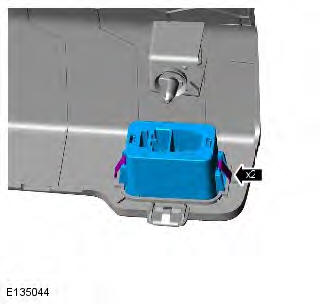
Installation
1. To install, reverse the removal procedure.
READ NEXT:
 Headliner
Removal
NOTES:
Removal steps in this procedure may contain installation details.
Vehicles with glass roof panel shown, vehicles without glass roof panel similar.
All vehicles
1. Refer to: Windshield
 Engine Cover GTDi 2.0L Petrol, Engine Cover TD4 2.2L Diesel
Engine Cover GTDi 2.0L Petrol
Removal
NOTE: Removal steps in this procedure may contain installation details.
1.
2. NOTE: Do not disassemble further if the
component is removed for access only.
Inst
 Loadspace Trim Panel
CAUTION: LH illustration shown, RH is similar.
NOTE: Removal steps in this procedure may contain installation details.
All vehicles
1.
2.
3.
4. Torque: 1.4 Nm
5. Torque: 20 Nm
6. NOTE: LH side o
SEE MORE:
 Changing the connected phone
Up to 10 mobile phones can be paired with the
vehicle in the same way. However, only one can
be connected and ready for use as a phone at
any one time.
To connect a different paired phone, follow the
steps below:
1. From the Home menu, select Phone.
2. A menu will appear. Select Change phone.
 Passenger Seat Cushion Vehicles With: Sports Seats
Removal
NOTE: Removal steps in this procedure may contain installation details.
All vehicles
1. Disconnect the battery ground cable.
Refer to: Specifications (414-01 Battery, Mounting and Cables,
Specifications).
2. Make the SRS system safe.
Refer to: Standard Workshop Practices (100-00 General In
© 2011-2026 Copyright www.rrevoque.org

