Range Rover Evoque: Engine Cover GTDi 2.0L Petrol, Engine Cover TD4 2.2L Diesel
Engine Cover GTDi 2.0L Petrol
Removal
NOTE: Removal steps in this procedure may contain installation details.
1.
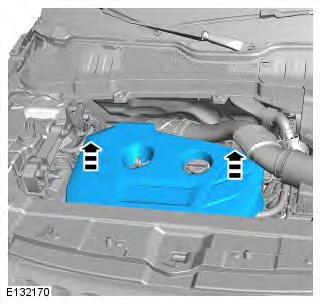
2. NOTE: Do not disassemble further if the
component is removed for access only.
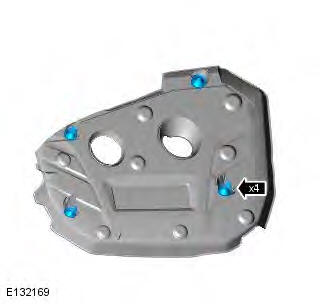
Installation
1. To install, reverse the removal procedure.
Engine Cover TD4 2.2L Diesel
Removal
1. Torque:
Clamp 3.7 Nm
Bolt 10 Nm
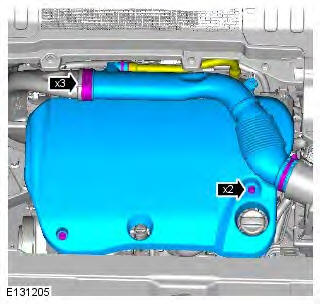
2. NOTE: Make sure the NVH material is seated
correctly.
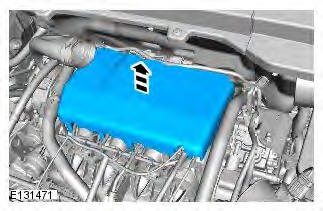
3. NOTE: Do not disassemble further if the
component is removed for access only.
Torque: 10 Nm
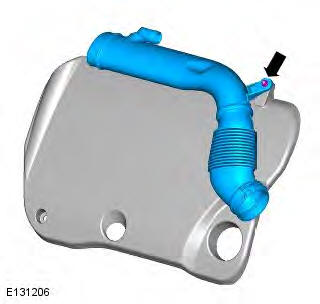
Installation
1. To install, reverse the removal procedure.
Cowl Side Trim Panel
Removal
NOTE: Removal steps in this procedure may contain installation details.
1. Refer to: Front Scuff Plate Trim Panel (501-05 Interior Trim and
Ornamentation, Removal and Installation).
2.
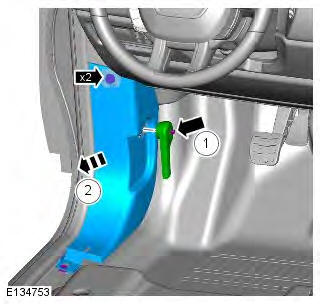
Installation
1. To install, reverse the removal procedure.
Front Scuff Plate Trim Panel
Removal
NOTE: Removal steps in this procedure may contain installation details.
1.
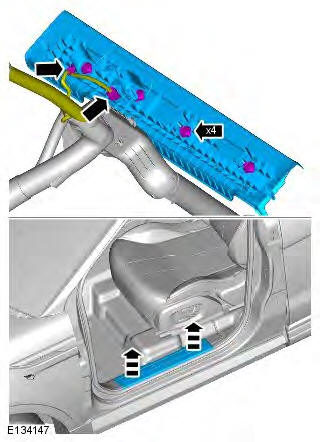
Installation
1. To install, reverse the removal procedure.
READ NEXT:
CAUTION: LH illustration shown, RH is similar.
NOTE: Removal steps in this procedure may contain installation details.
All vehicles
1.
2.
3.
4. Torque: 1.4 Nm
5. Torque: 20 Nm
6. NOTE: LH side o
Removal
NOTE: Removal steps in this procedure may contain installation details.
1.
2.
3.
4.
5. Torque: 6 Nm
6.
Installation
1. To install, reverse the removal procedure.
C-Pillar Lower Trim Pane
Removal
NOTE: Removal steps in this procedure may contain installation details.
1. Refer to: Rear Seat Cushion (501-10 Seating, Removal and
Installation).
2. Refer to: Loadspace Trim Panel (501-05 Int
SEE MORE:
Never remove the filler cap
when the
engine is hot - escaping steam or
scalding water could cause serious
personal injury.
Antifreeze is highly inflammable. Do
not allow antifreeze to come into
contact with naked flames or other
sources of ignition (e.g. a hot engine)
- a fire may result.
Anti-Theft - Active - Component Location
COMPONENT LOCATION
RH (right-hand) front door module
RH front door latch mechanism
Radio Frequency (RF) receiver
RH rear door module
RH rear door latch mechanism
Interior motion sensor
Remote handset
Liftgate latch mechanism
Keyless Vehicle Module
© 2011-2026 Copyright www.rrevoque.org


