Range Rover Evoque: C-Pillar Upper Trim Panel
Land Rover Range Rover Evoque L538 (2011–2018) Service Manual / Body and Paint / Interior Trim and Ornamentation / C-Pillar Upper Trim Panel
Removal
NOTE: Removal steps in this procedure may contain installation details.
1.
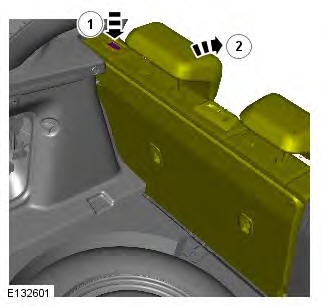
2.
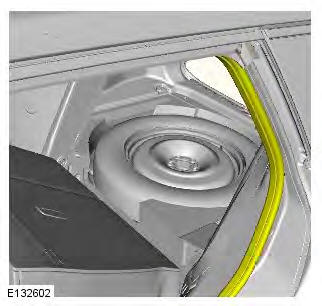
3.
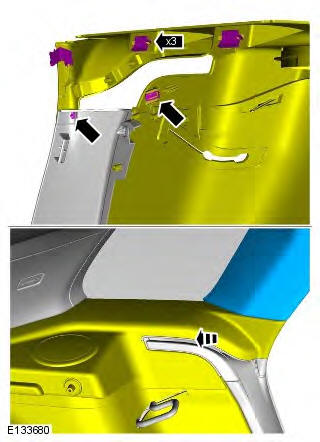
4.
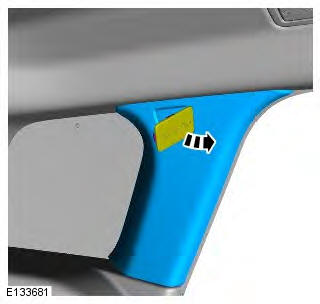
5. Torque: 6 Nm
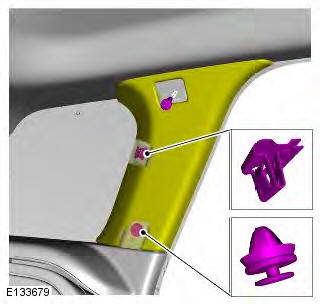
6.
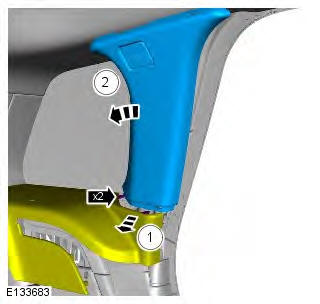
Installation
1. To install, reverse the removal procedure.
C-Pillar Lower Trim Panel
Removal
1. Refer to: Rear Seat Cushion (501-10 Seating, Removal and Installation).
2. Refer to: Loadspace Trim Panel (501-05 Interior Trim and Ornamentation, Removal and Installation).
3.
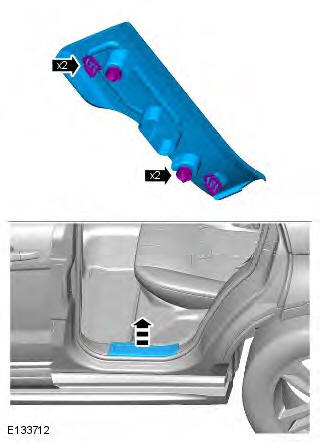
4.
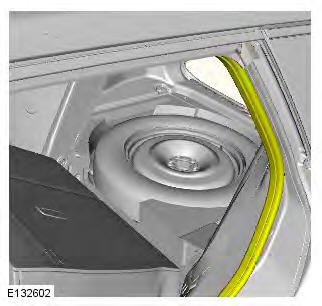
5.
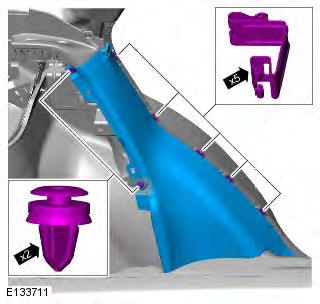
Installation
1. To install, reverse the removal procedure.
READ NEXT:
 Rear Quarter Trim Panel
Removal
NOTE: Removal steps in this procedure may contain installation details.
1. Refer to: Rear Seat Cushion (501-10 Seating, Removal and
Installation).
2. Refer to: Loadspace Trim Panel (501-05 Int
 Exterior Trim and Ornamentation
Torque Specifications
Rear Quarter Panel Moulding
Removal
NOTE: Removal steps in this procedure may contain installation details.
1.
2. NOTE: Discard the retaining clips.
Make sure that the centre
 Rear View Mirrors
Rear View Mirrors - Component Location
NOTE: RHD (right-hand drive) installation shown, LHD (left-hand drive)
installation similar.
DDM (driver door module)
Driver exterior mirror
Exterior mirro
SEE MORE:
 Electronic Engine Controls -
Component Location
Component Location
COMPONENT LOCATION - SHEET 1 OF 4
Fuel metering valve - HP Fuel pump
Camshaft Position (CMP) sensor (2 off)
Variable Camshaft Timing (VCT) solenoid (2 off)
Purge valve
Generator
Air Conditioning (A/C) compressor clutch
Crankshaft Position (CKP) sensor
Turbocharger wasteg
 Transmission Control Module (TCM), Gear Shift Module (GSM)
TRANSMISSION CONTROL MODULE (TCM)
TCM
Neutral 'N' position
Park 'P' position
Position sensor/manual shaft
Electrical connector
The TCM is located on the top of the transmission casing and is connected on
the high speed CAN (controller area network)
bus to send and receive information to and
© 2011-2026 Copyright www.rrevoque.org

