Range Rover Evoque: Evaporator LHD
Removal
NOTES: The removal of this component involves cutting an aperture in the evaporator housing wall and cutting through the high and low pressure A/C lines. A service repair kit is supplied to cover this procedure.
Removal steps in this procedure may contain installation details.
1. Disconnect the battery ground cable.
Refer to: Specifications (414-01 Battery, Mounting and Cables, Specifications).
2. Refer to: Air Conditioning (A/C) System Recovery, Evacuation and Charging - GTDi 2.0L Petrol (412-00 Climate Control System - General Information, General Procedures).
Refer to: Air Conditioning (A/C) System Recovery, Evacuation and Charging - TD4 2.2L Diesel (412-00 Climate Control System - General Information, General Procedures).
3. Refer to: Plenum Chamber (412-01 Climate Control, Removal and Installation).
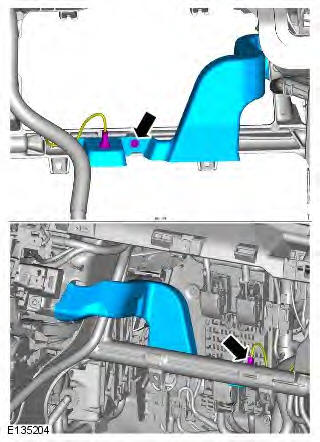
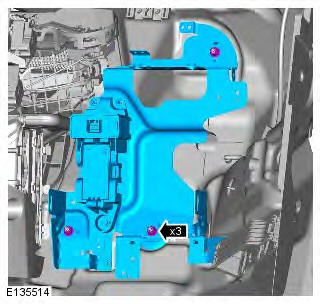
4. Refer to: Central Junction Box (CJB) (418-00 Module Communications Network, Removal and Installation).
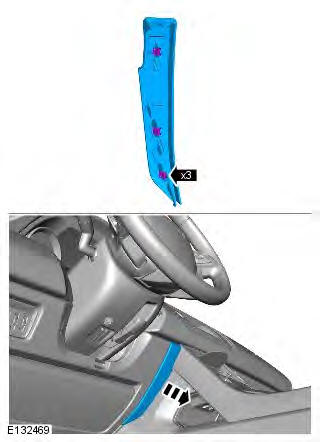
5. Refer to: Floor Console Upper Section (501-12 Instrument Panel and Console, Removal and Installation).
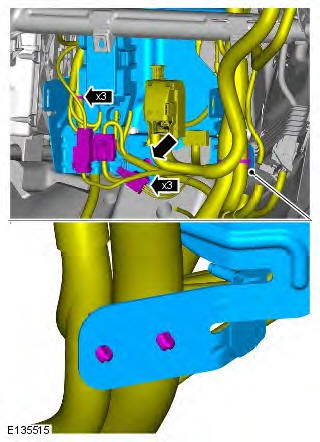
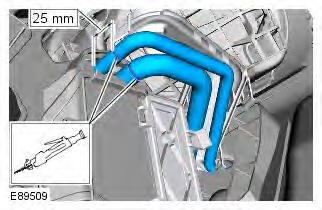
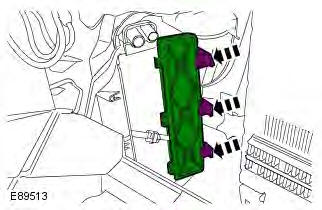
6.
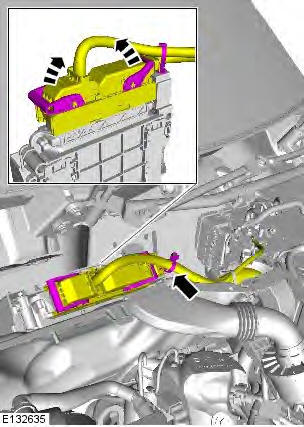
7. Torque: 10 Nm
8. CAUTIONS: Make sure that all openings are sealed. Use new blanking caps.
Lubricate the new seals with clean refrigerant oil.
NOTE: Install new O-ring seals.
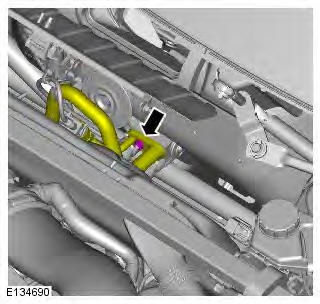
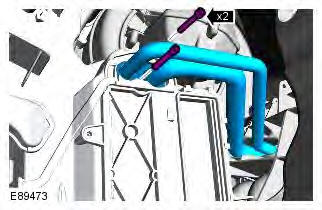
Torque: 9 Nm
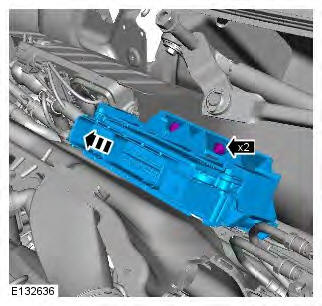
9. Torque: 4 Nm
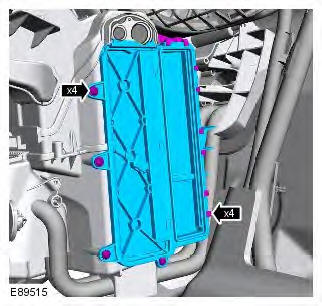
10. NOTE: LH illustration shown, RH is similar.
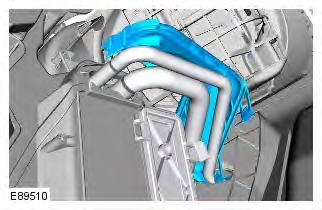
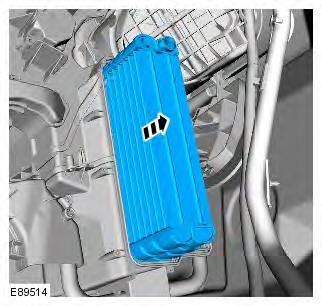
11.
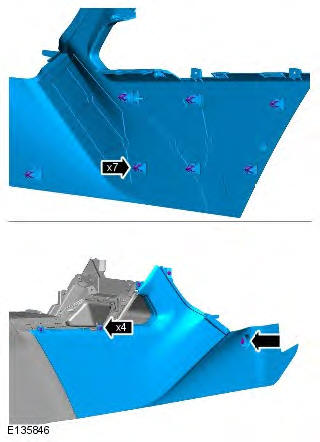
12.
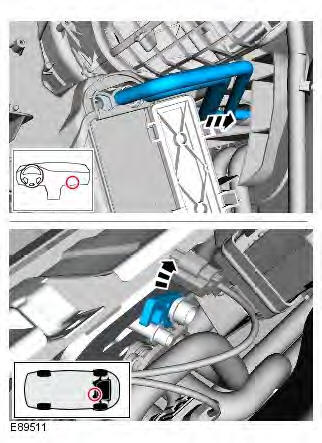
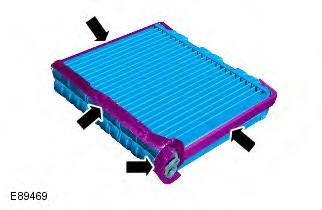
13.
14.
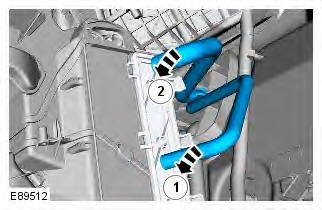
15.

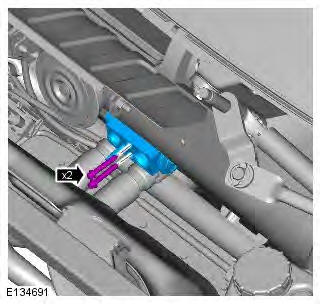
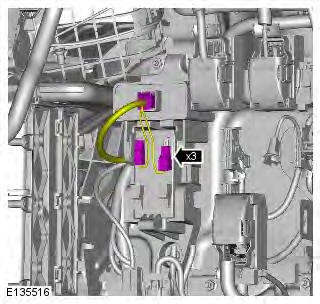
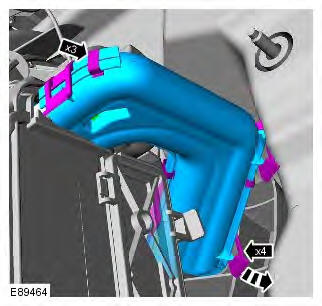
16. Torque: 10 Nm
17.
18.
19.
20.
21.
22.
23.
24.
25. CAUTION: Make sure that the area around the component is clean and free of foreign material.
Installation
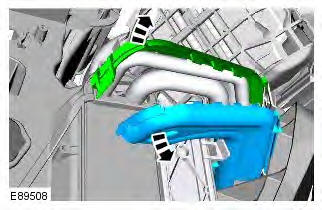
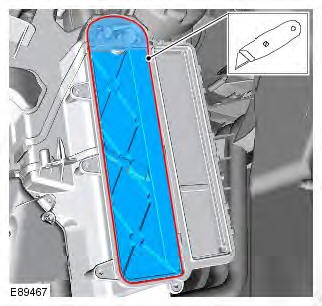
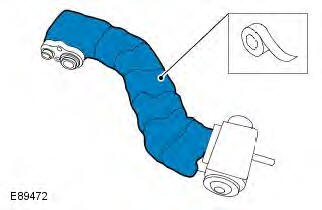
1. Apply the foam strips from the service kit to the evaporator core.
2.
3.
4. NOTE: Install new O-ring seals.
Torque: 5 Nm
5. To install, reverse the removal procedure.
READ NEXT:
 Evaporator RHD
Removal
NOTES:
The removal of this component involves cutting an aperture in the evaporator
housing wall and cutting through the
high and low pressure A/C lines. A service repair kit is supplied to c
Evaporator Temperature Sensor
Removal
NOTE: Removal steps in this procedure may contain installation details.
1. Disconnect the battery ground cable.
Refer to: Specifications (414-01 Battery, Mounting and Cables,
Specifications).
Condenser TD4 2.2L Diesel
Removal
CAUTION: Make sure that all openings are sealed. Use new blanking caps.
NOTES:
Removal steps in this procedure may contain installation details.
Some variation in the illustrations may occur
SEE MORE:
Important information
The information contained in this handbook covers all vehicle derivatives and
optional equipment,
some of which may not be fitted to your vehicle. Due to printing cycles, this
handbook may include
descriptions of options before they become generally available.
The vehicle options, hardware an
Symbols used in this handbook
Safety warnings indicate either a procedure which must be followed
precisely, or
information that should be considered with great care, in order to avoid the
possibility
of personal injury.
Cautions indicate either a procedure which must be followed precisely, or
information that
should
