Range Rover Evoque: Evaporator RHD
Removal
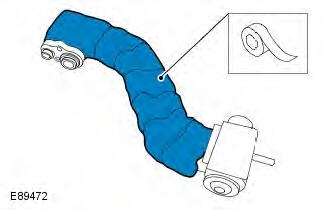
NOTES: The removal of this component involves cutting an aperture in the evaporator housing wall and cutting through the high and low pressure A/C lines. A service repair kit is supplied to cover this procedure.
Removal steps in this procedure may contain installation details.
All vehicles
1. Make the SRS system safe.
Refer to: Standard Workshop Practices (100-00 General Information, Description and Operation).
2. Refer to: Air Conditioning (A/C) System Recovery, Evacuation and Charging - GTDi 2.0L Petrol (412-00 Climate Control System - General Information, General Procedures).
Refer to: Air Conditioning (A/C) System Recovery, Evacuation and Charging - TD4 2.2L Diesel (412-00 Climate Control System - General Information, General Procedures).
3. Refer to: Steering Column (211-04 Steering Column, Removal and Installation).
4. Refer to: Plenum Chamber (412-01 Climate Control, Removal and Installation).
5. Refer to: Floor Console Upper Section (501-12 Instrument Panel and Console, Removal and Installation).
Vehicles with manual transmission
6. Refer to: Clutch Pedal - RHD (308-02 Clutch Controls - Vehicles With: M66 6-Speed Manual Transmission AWD, Removal and Installation).
All vehicles
7. Refer to: Brake Pedal and Bracket (206-06 Hydraulic Brake Actuation, Removal and Installation).
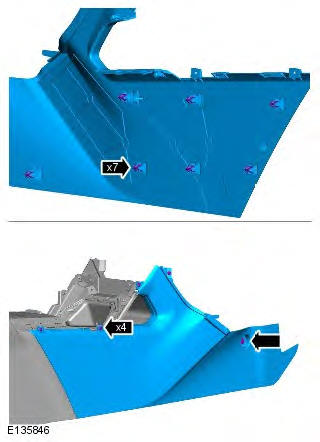
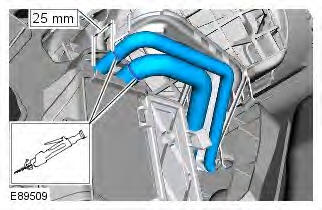
8.
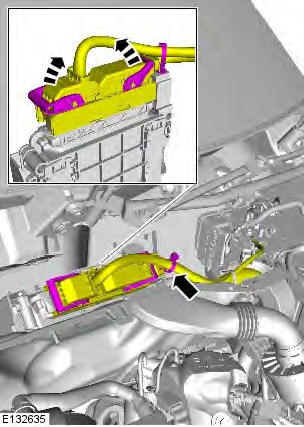
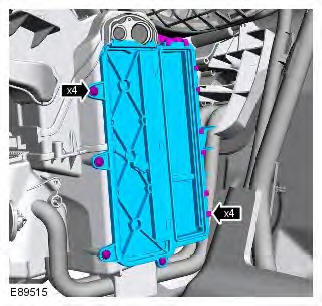
9. Torque: 10 Nm
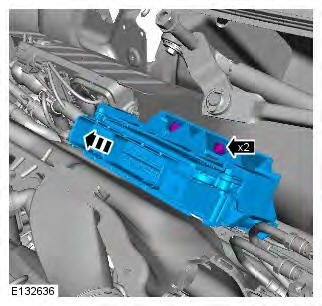
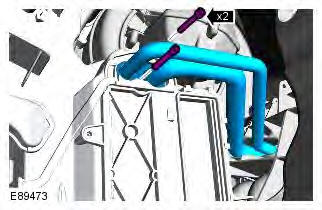
10. CAUTIONS: Make sure that all openings are sealed. Use new blanking caps.
Lubricate the new seals with clean refrigerant oil.
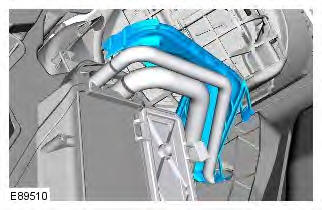
NOTE: Install new O-ring seals.
Torque: 9 Nm
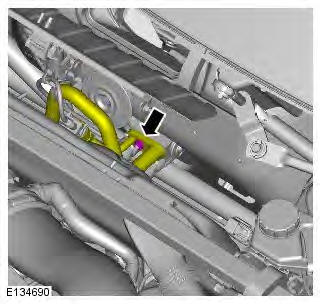
11. Torque: 4 Nm
12.
13.
14.
15.
16.
17.
18.
19.

20.
21.
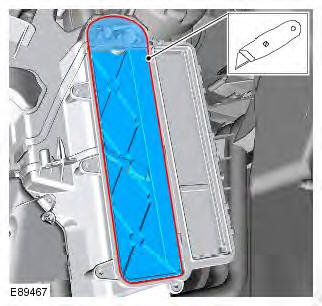
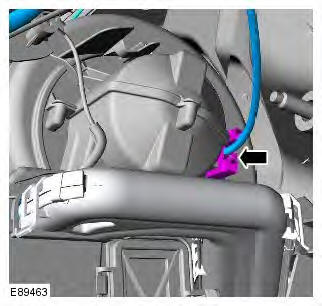
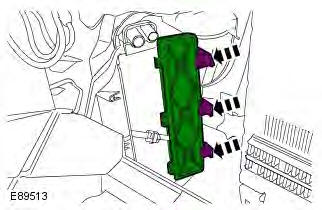
22. CAUTION: Make sure that the area around the component is clean and free of foreign material.
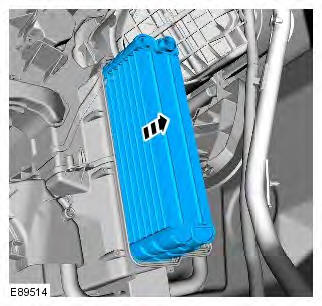
Installation
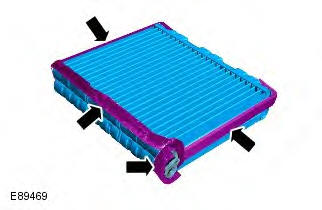
1. Apply the foam strips from the service kit to the evaporator core.
2.
3.
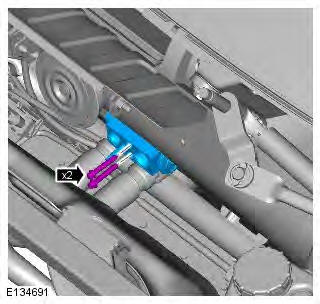
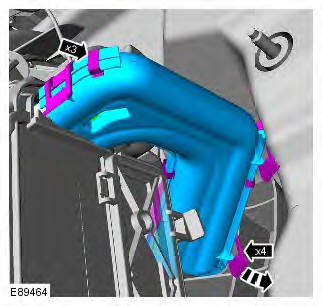
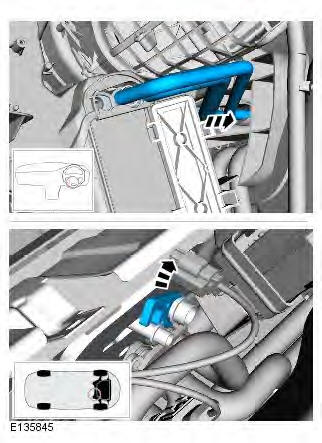
4. NOTE: Install new O-ring seals.
Torque: 5 Nm
5. To install, reverse the removal procedure.
READ NEXT:
 Evaporator Temperature Sensor
Removal
NOTE: Removal steps in this procedure may contain installation details.
1. Disconnect the battery ground cable.
Refer to: Specifications (414-01 Battery, Mounting and Cables,
Specifications).
Condenser TD4 2.2L Diesel
Removal
CAUTION: Make sure that all openings are sealed. Use new blanking caps.
NOTES:
Removal steps in this procedure may contain installation details.
Some variation in the illustrations may occur
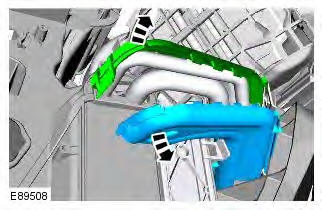
Heater Core and Evaporator Core Housing
Removal
NOTE: Removal steps in this procedure may contain installation details.
1. Make the SRS system safe.
Refer to: Standard Workshop Practices (100-00 General Information,
Description and Operati
SEE MORE:
Audio Amplifier Module (AAM)
CAUTION: Diagnosis by substitution from a donor vehicle is NOT acceptable.
Substitution of control modules does
not guarantee confirmation of a fault, and may also cause additional faults in
the vehicle being tested and/or the donor
vehicle.
NOTES:
If the control module or a component is susp
Anti-lock Braking System (ABS)
Anti-lock Braking Control Module (ABS)
CAUTION: Diagnosis
by substitution from a donor vehicle is NOT acceptable. Substitution of control
modules does
not guarantee confirmation of a fault, and may also cause additional faults in
the vehicle being tested and/or the donor
vehicle.
NOTES:
If the
