Range Rover Evoque: Floor Console
Removal
NOTE: Removal steps in this procedure may contain installation details.
1. Refer to: Floor Console Upper Section (501-12 Instrument Panel and
Console, Removal and Installation).
2. NOTES:
The step must be carried out on both sides.
LH illustration shown, RH is similar.
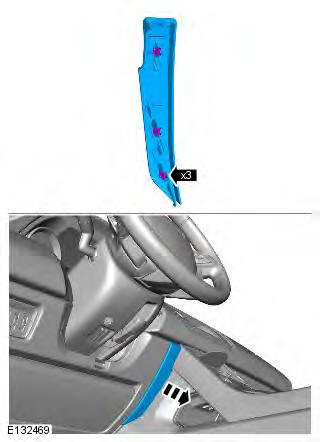
3. NOTES:
The step must be carried out on both sides.
LH illustration shown, RH is similar.
Torque:
Screw 17mm 1.9 Nm
Screw 13mm 1.1 Nm
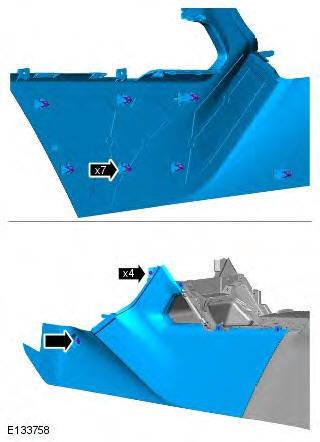
4.
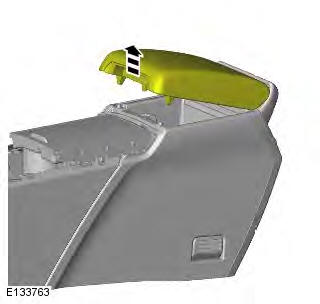
5.
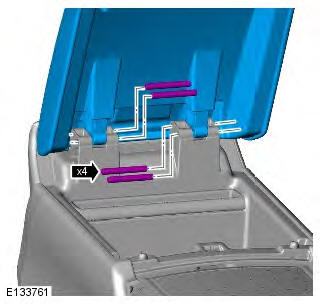
6. Torque: 1.9 Nm
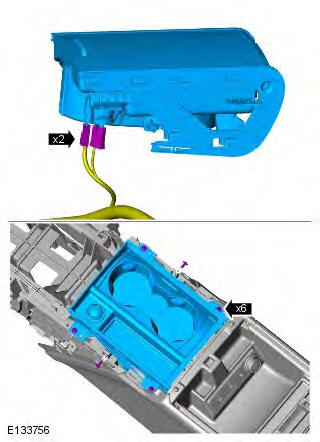
7. Torque: 1.5 Nm
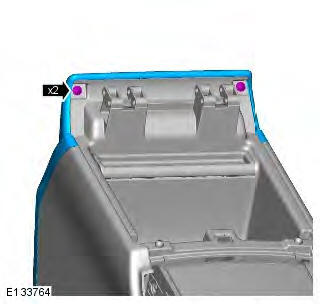
8.
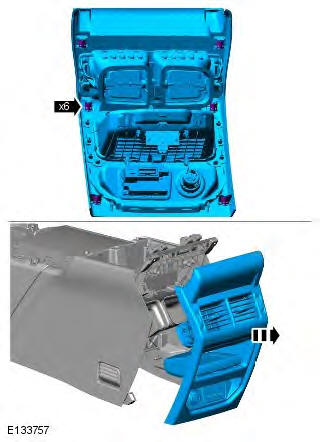
9. NOTE: If equipped.
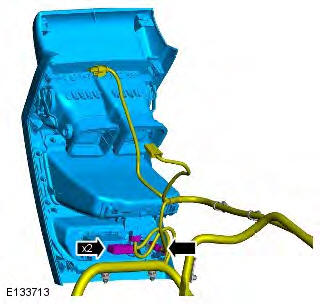
10.
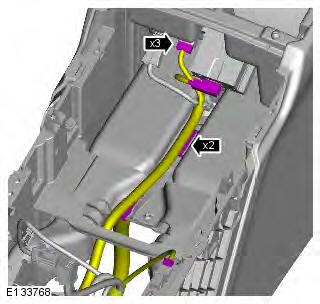
11.
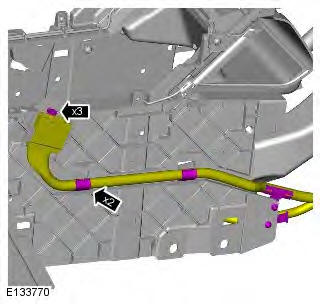
12.
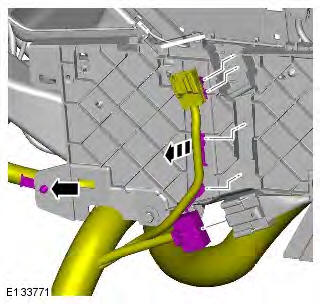
13. NOTES:
The step must be carried out on both sides.
LH illustration shown, RH is similar.
Torque: 3.2 Nm
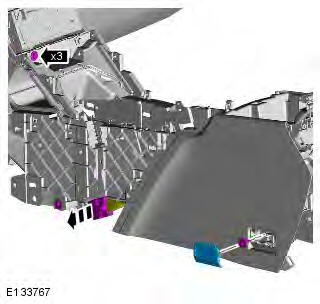
14.
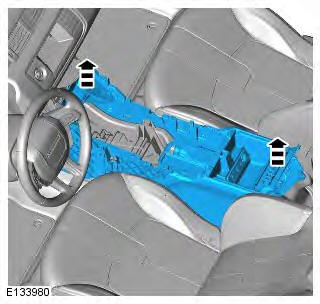
15. NOTE: Do not disassemble further if the
component is removed for access only.
Torque: 1.5 Nm
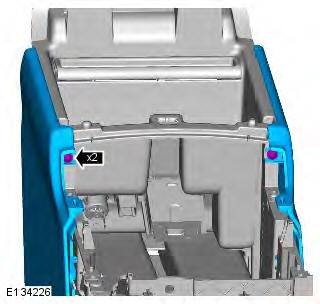
16. NOTES:
The step must be carried out on both sides.
LH illustration shown, RH is similar.
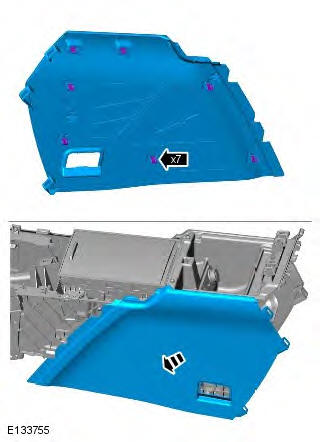
17.
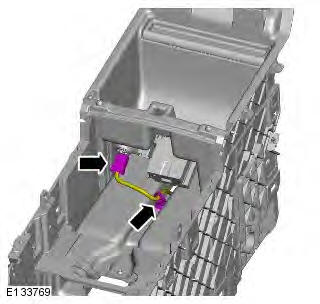
18.
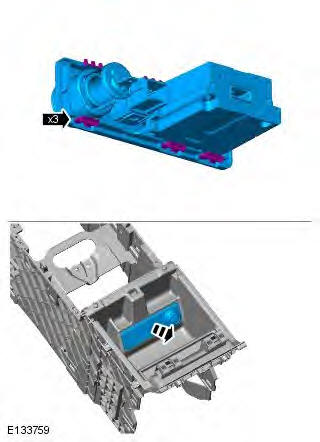
19.
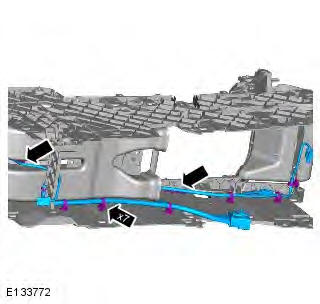
20. Torque: 1.5 Nm
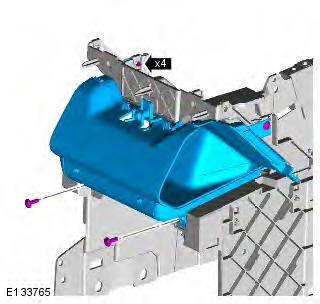
21. Torque: 1.5 Nm
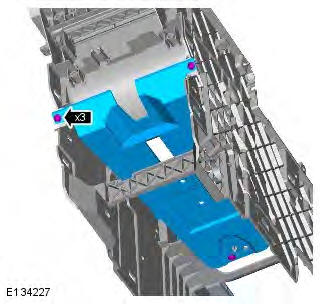
22. NOTE: If equipped.
Torque: 1.5 Nm
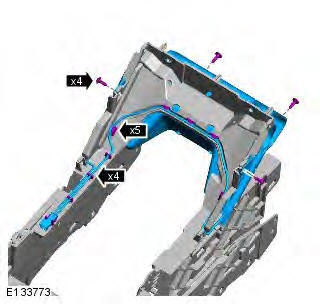
23. NOTE: If equipped.
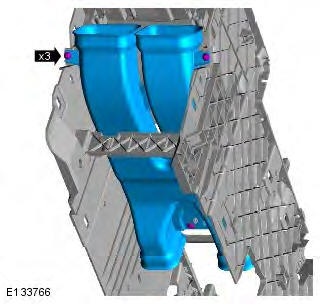
Torque: 1.5 Nm
Installation
1. To install, reverse the removal procedure.
READ NEXT:
Removal
NOTE: Removal steps in this procedure may contain installation details.
1. CAUTION: Take extra care not to damage the
edges of the component.
2.
3. NOTE: Do not disassemble further if the
co
Removal
NOTE: Removal steps in this procedure may contain installation details.
All vehicles
1. CAUTION: The procedure must be carried out on
both sides.
NOTE: LH illustration shown, RH is similar.
T
SEE MORE:
For optimum
safety, children should
travel in the rear of the vehicle at all
times; front passenger seat travel is
not recommended. However, if it is
essential that a child travels in the
front (not permitted in Australia), set
the vehicle seat fully rearward and
seat the child in an appro
Principles of Operation
For a detailed description of the cooling system, refer to the relevant
Description and Operation section in the workshop
manual. REFER to: (303-03B Engine Cooling - GTDi 2.0L Petrol)
Inspection and Verification
CAUTION: Diagnosis by substitution from a donor vehicle is NOT
© 2011-2026 Copyright www.rrevoque.org


