Range Rover Evoque: Instrument Panel TD4 2.2L Diesel

Removal

NOTE: Removal steps in this procedure may contain installation details.

All vehicles

1. Make the SRS system safe.

Refer to: Standard Workshop Practices (100-00 General Information, Description and Operation).

2. Disconnect the battery ground cable.

Refer to: Specifications (414-01 Battery, Mounting and Cables, Specifications).

3. NOTE: The procedure must be carried out on both sides. Refer to: Cowl Side Trim Panel (501-05 Interior Trim and Ornamentation, Removal and Installation).

4. Refer to: Steering Column (211-04 Steering Column, Removal and Installation).

5. Refer to: Windshield Wiper Motor (501-16 Wipers and Washers, Removal and Installation).

6. Refer to: Thermostatic Expansion Valve - TD4 2.2L Diesel (412-01 Climate Control, Removal and Installation).

7. NOTE: The procedure must be carried out on both sides. Refer to: Front Door (501-03 Body Closures, Removal and Installation).

8. Refer to: Glove Compartment (501-12 Instrument Panel and Console, Removal and Installation).

9. Refer to: Front Seat (501-10 Seating, Removal and Installation).

10. Refer to: Floor Console (501-12 Instrument Panel and Console, Removal and Installation).

Vehicles with manual transmission

11. Refer to: Gearshift Lever (308-06 Manual Transmission/Transaxle External Controls, Removal and Installation).

Vehicles with automatic transmission

12.
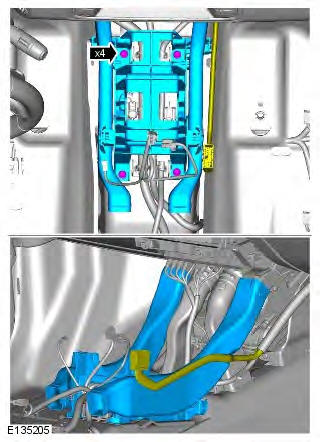
Range Rover Evoque. Instrument Panel and Console

All vehicles

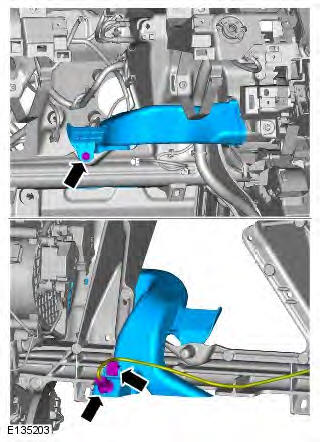
13. NOTE: The step must be carried out on both sides.

Torque: 6 Nm
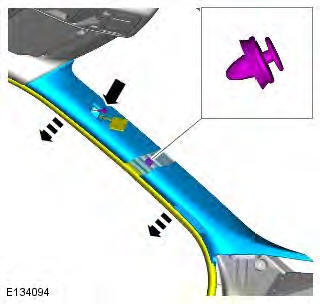
Range Rover Evoque. Instrument Panel and Console

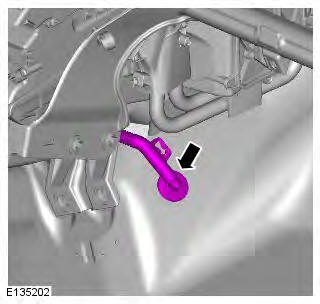
14. NOTE: The step must be carried out on both sides.
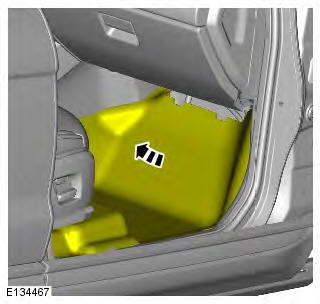
Range Rover Evoque. Instrument Panel and Console

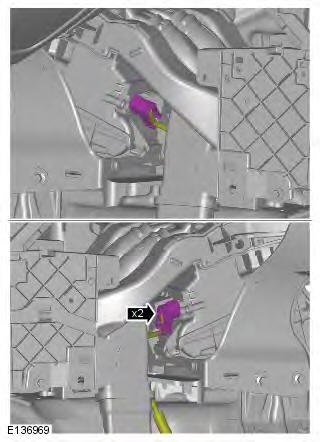
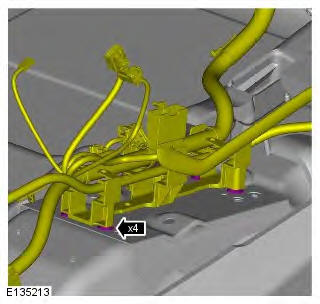
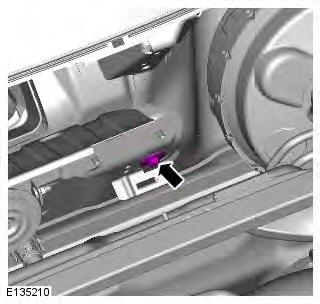
15.

Range Rover Evoque. Instrument Panel and Console

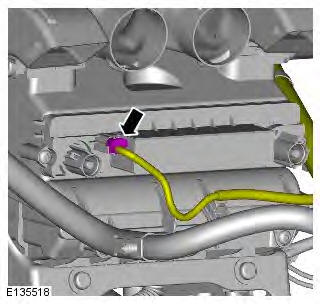
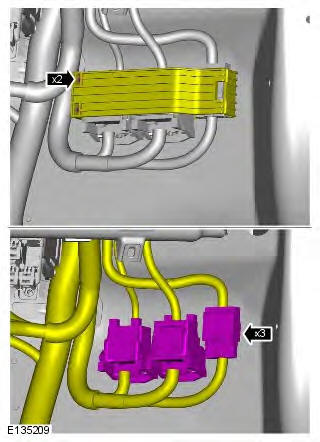
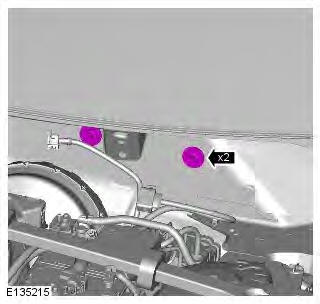
16.

Range Rover Evoque. Instrument Panel and Console

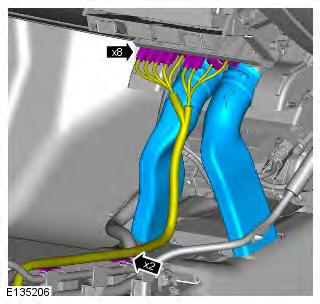
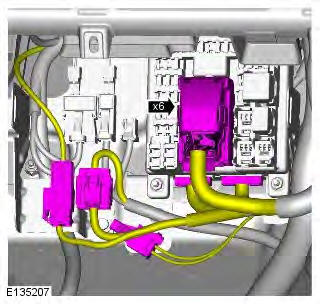
17.

Range Rover Evoque. Instrument Panel and Console

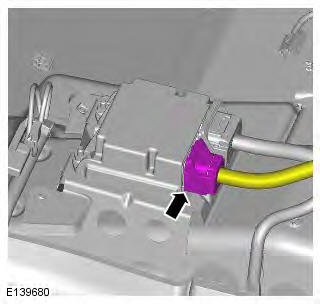
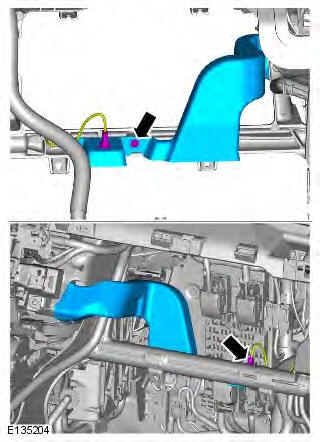
18.

Range Rover Evoque. Instrument Panel and Console

19.

Range Rover Evoque. Instrument Panel and Console

20.

Range Rover Evoque. Instrument Panel and Console

21.

Range Rover Evoque. Instrument Panel and Console

22.

Range Rover Evoque. Instrument Panel and Console

23.

Range Rover Evoque. Instrument Panel and Console

24.

Range Rover Evoque. Instrument Panel and Console

25. CAUTION: Make sure that all openings are sealed.

Use new blanking caps.

Clamp the hoses to minimize coolant loss.
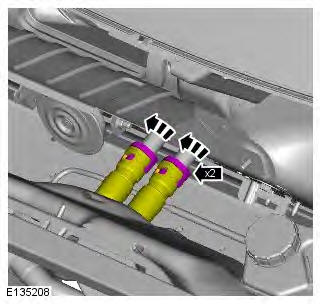
Range Rover Evoque. Instrument Panel and Console

26. Torque: 24 Nm

Range Rover Evoque. Instrument Panel and Console

27. Torque: 24 Nm

Range Rover Evoque. Instrument Panel and Console

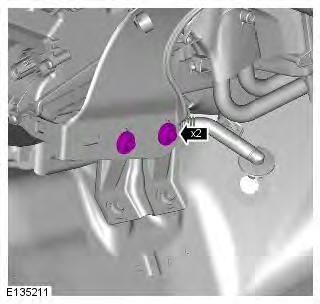
28. NOTES:

Right-hand shown, left-hand similar.

The step must be carried out on both sides.

Torque: 24 Nm
Range Rover Evoque. Instrument Panel and Console

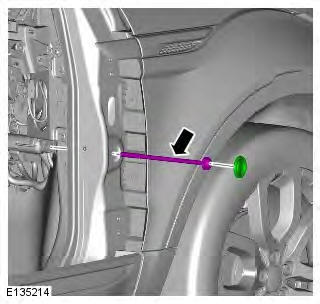
29. NOTES:

Right-hand shown, left-hand similar.

The step must be carried out on both sides.

Torque: 40 Nm
Range Rover Evoque. Instrument Panel and Console

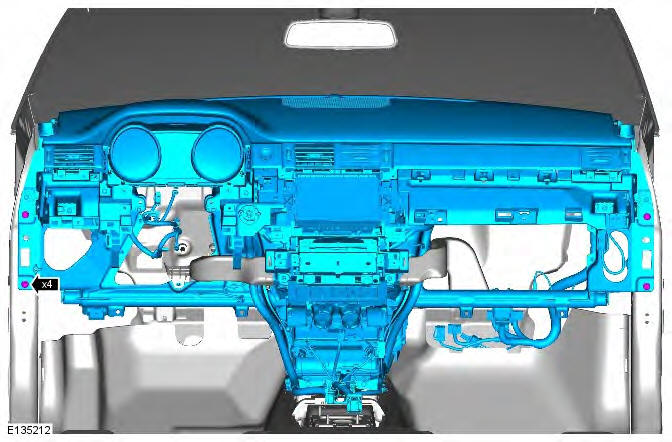
30. CAUTION: Protect the surrounding trim to avoid damage.

NOTE: With assistance remove the component.

Torque: 24 Nm
Range Rover Evoque. Instrument Panel and Console

Installation

1. To install, reverse the removal procedure.

2. Check and top-up the coolant if required.

READ NEXT:

 Instrument Panel GTDi 2.0L Petrol

Removal NOTE: Removal steps in this procedure may contain installation details. 1. Make the SRS system safe. Refer to: Standard Workshop Practices (100-00 General Information, Description and Operati

 Instrument Panel Upper Section

Removal NOTE: Removal steps in this procedure may contain installation details. 1. Disconnect the battery ground cable. Refer to: Specifications (414-01 Battery, Mounting and Cables, Specifications).

 Floor Console

Removal NOTE: Removal steps in this procedure may contain installation details. 1. Refer to: Floor Console Upper Section (501-12 Instrument Panel and Console, Removal and Installation). 2. NOTES: The

SEE MORE:

 Tyre pressures

Never drive your vehicle if the tyre pressures are incorrect. Pressure checks should only be carried out when the tyres are cold, and the vehicle has been stationary for more than three hours. A hot tyre at, or below, recommended cold inflation pressure, is dangerously under-inflated. If

 Transfer Case Seal RH TD4 2.2L Diesel

Special Tool(s) 100-012 Slide Hammer 205-872 Installer, Transfer Case Seal 308-615 Remover, Seals 308-617 Depth Drill, Seal Remover Removal NOTES: Removal steps in this procedure may contain installation details. Some variation in the illustrations may occur, but the essential information is alway

© 2011-2024 Copyright www.rrevoque.org