Range Rover Evoque: A-Pillar Trim Panel, B-Pillar Upper Trim Panel 5-Door
Land Rover Range Rover Evoque L538 (2011–2018) Service Manual / Body and Paint / Interior Trim and Ornamentation / A-Pillar Trim Panel, B-Pillar Upper Trim Panel 5-Door
A-Pillar Trim Panel
Removal
NOTE: Removal steps in this procedure may contain installation details.
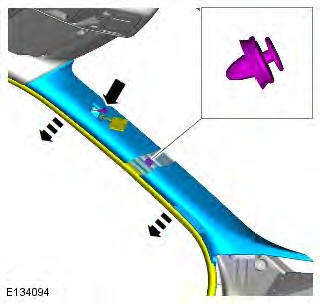
1. Torque: 6 Nm
Installation
1. To install, reverse the removal procedure.
B-Pillar Upper Trim Panel 5-Door
Removal
NOTE: Removal steps in this procedure may contain installation details.
1.
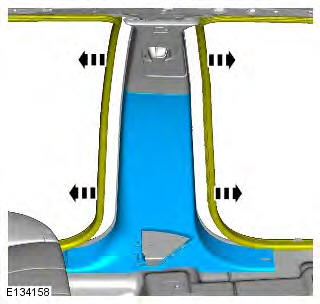
2.
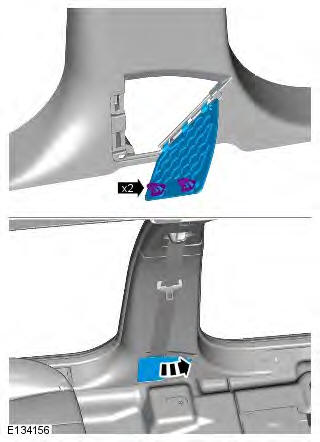
3. CAUTION: Discard the bolt.
Torque: 45 Nm
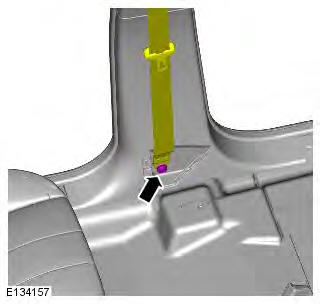
4.
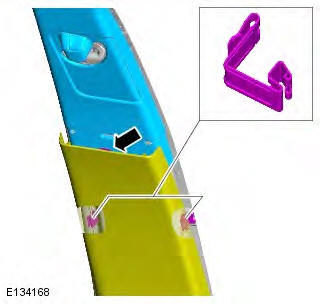
5. Torque: 6 Nm
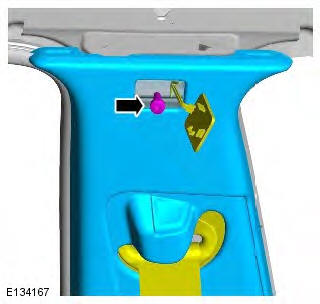
6.
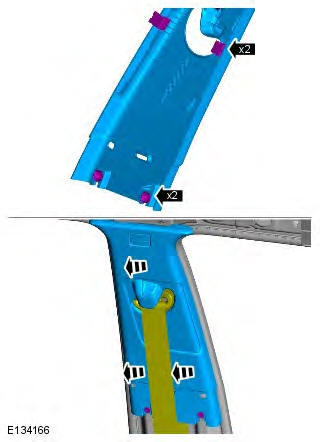
7.
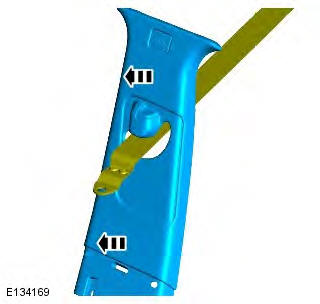
Installation
1. WARNING: Make sure that a new bolt is installed.
CAUTION: Make sure the safety belt is secure and correctly installed.
NOTE: Make sure the safety belt is operating correctly.
To install, reverse the removal procedure.
READ NEXT:
 B-Pillar Lower Trim Panel, D-Pillar Trim Panel
B-Pillar Lower Trim Panel
Removal
NOTE: Removal steps in this procedure may contain installation details.
1.
2.
3.
4. CAUTION: Discard the bolt.
Torque: 45 Nm
5.
6.
Installation
1. WARNING: Make
 Front Door Trim Panel
Removal
NOTE: Removal steps in this procedure may contain installation details.
All vehicles
1. Torque: 6 Nm
2. Torque: 6 Nm
3. Torque: 0.9 Nm
4. Torque: 1.3 Nm
5-door
5.
3-door
6.
All vehicles
 Rear Door Trim Panel
Removal
NOTE: Removal steps in this procedure may contain installation details.
1. Torque: 1.3 Nm
2. Torque: 6 Nm
3. Torque: 6 Nm
4.
5.
6.
7. NOTE: Do not disassemble further if the
component is
SEE MORE:
 Headlamps
Moving the nearside headlamp unit to access
bulbs;
1. Remove the two plastic fixings.
2. Pull the tube up to release from the air box.
This will allow more room for
manoeuvrability.
3. Remove the four grille fixings.
4. Remove the two retaining bolts.
5. At the rear of the headlamp unit, p
 Setting a destination
After touching Agree, the initial map screen is
displayed, now select Nav Menu.
From the Navigation Menu, select Destination
entry.
Select Address from the Destination screen
and input the town name.
Once sufficient letters have been entered,
touch List to display all the possible towns.
If
© 2011-2026 Copyright www.rrevoque.org

