Range Rover Evoque: Front Door Trim Panel
Land Rover Range Rover Evoque L538 (2011–2018) Service Manual / Body and Paint / Interior Trim and Ornamentation / Front Door Trim Panel
Removal
NOTE: Removal steps in this procedure may contain installation details.
All vehicles
1. Torque: 6 Nm
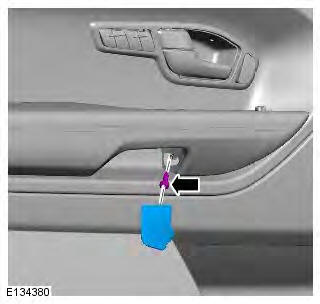
2. Torque: 6 Nm
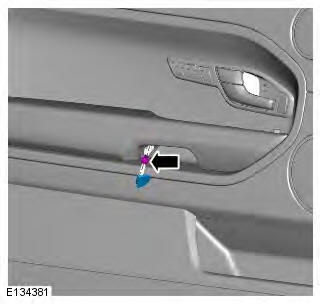
3. Torque: 0.9 Nm
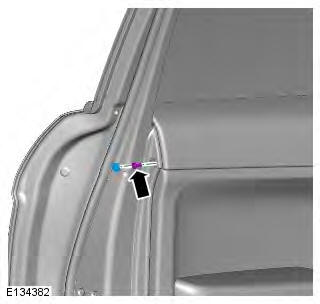
4. Torque: 1.3 Nm
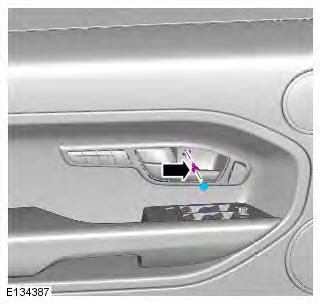
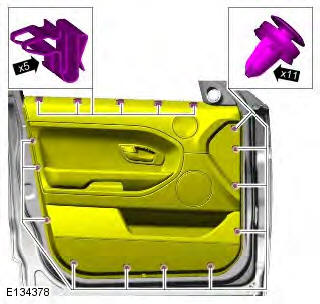
5-door
5.
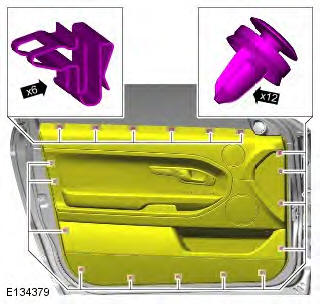
3-door
6.
All vehicles
7.
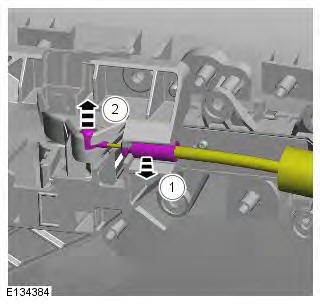
8.
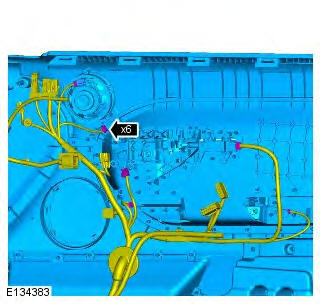
9. NOTE: Do not disassemble further if the component is removed for access only.
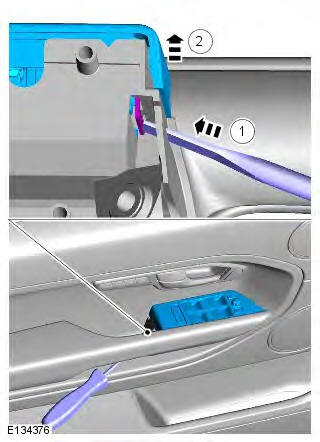
10.
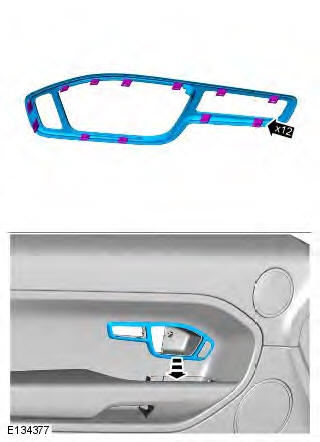
11.
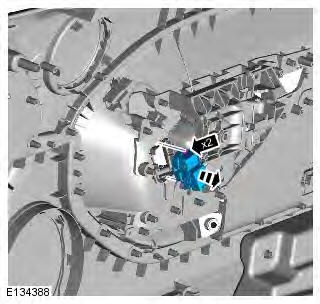
12. Torque: 1 Nm
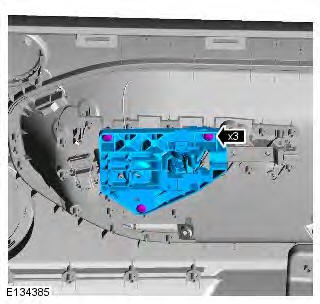
13. NOTE: Where fitted.
Torque: 1 Nm
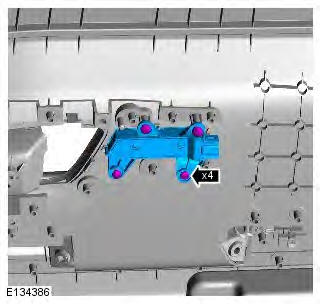
14. NOTE: Where fitted.
Torque: 1 Nm
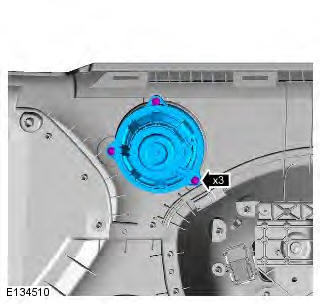
Installation
1. To install, reverse the removal procedure.
READ NEXT:
 Rear Door Trim Panel
Removal
NOTE: Removal steps in this procedure may contain installation details.
1. Torque: 1.3 Nm
2. Torque: 6 Nm
3. Torque: 6 Nm
4.
5.
6.
7. NOTE: Do not disassemble further if the
component is
 Headliner
Removal
NOTES:
Removal steps in this procedure may contain installation details.
Vehicles with glass roof panel shown, vehicles without glass roof panel similar.
All vehicles
1. Refer to: Windshield
 Engine Cover GTDi 2.0L Petrol, Engine Cover TD4 2.2L Diesel
Engine Cover GTDi 2.0L Petrol
Removal
NOTE: Removal steps in this procedure may contain installation details.
1.
2. NOTE: Do not disassemble further if the
component is removed for access only.
Inst
SEE MORE:
 B-Pillar Outer Panel
Removal
NOTES:
Within this procedure there are 2 different options depending on type of
vehicle body.
The b-pillar outer panel is manufactured from mild steel.
The rocker panel butt joints must be MIG brazed due to the location of boron
reinforcements.
1. The B-Pillar outer panel is replaced in
 Transmission GTDi 2.0L Petrol - Installation
Installation
NOTE: Some variation in the illustrations may occur, but the essential
information is always correct.
1. NOTE: This step is only required if previously removed.
Torque: 12 Nm
2. NOTE: This step is only required if previously removed.
3. CAUTION: Make sure that the seal is correctly
© 2011-2026 Copyright www.rrevoque.org

