Range Rover Evoque: Timing Cover

Special Tool(s)
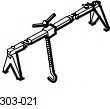
303-021
Engine support bracket

Range Rover Evoque. Engine - GTDi 2.0L PetrolJLR-303-1591
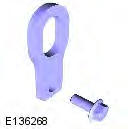
Lifting Bracket, Engine - Rear

Removal

NOTES:

Some illustrations may show the engine removed for clarity.

Some variation in the illustrations may occur, but the essential information is always correct.

1. Refer to: Specifications (414-01 Battery, Mounting and Cables, Specifications).

2. WARNING: Make sure to support the vehicle with axle stands. Raise and support the vehicle.

3. Refer to: Crankshaft Pulley (303-01B Engine - GTDi 2.0L Petrol, Removal and Installation).

4. Refer to: Valve Cover (303-01B Engine - GTDi 2.0L Petrol, Removal and Installation).

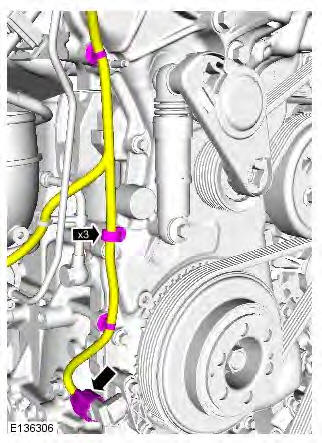
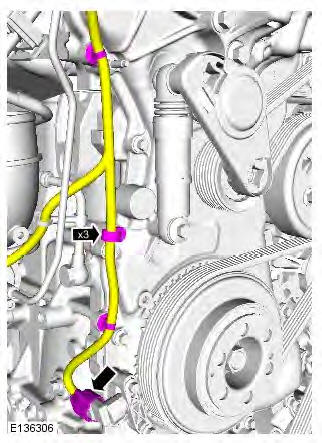
5.
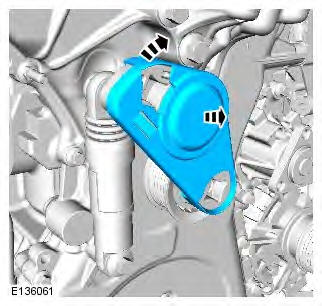
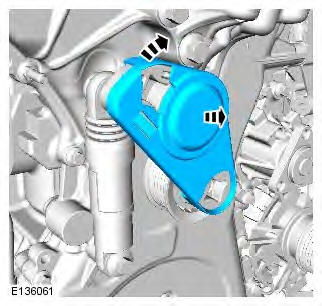
Range Rover Evoque. Engine - GTDi 2.0L Petrol

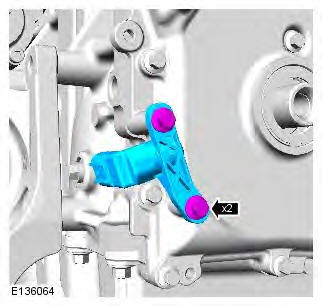
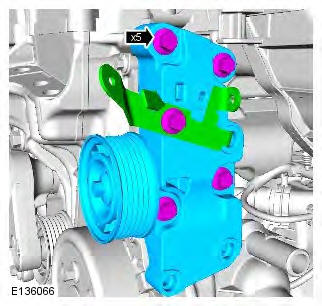
6.

Range Rover Evoque. Engine - GTDi 2.0L Petrol

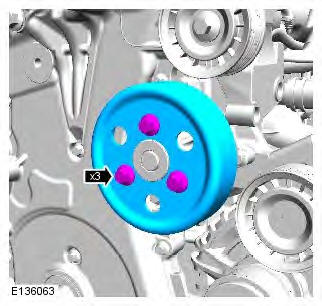
7.

Range Rover Evoque. Engine - GTDi 2.0L Petrol

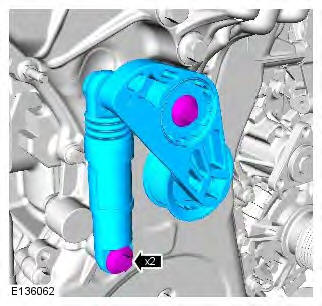
8.

Range Rover Evoque. Engine - GTDi 2.0L Petrol

9.

Range Rover Evoque. Engine - GTDi 2.0L Petrol

10.

Range Rover Evoque. Engine - GTDi 2.0L Petrol

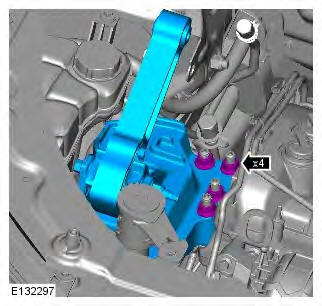
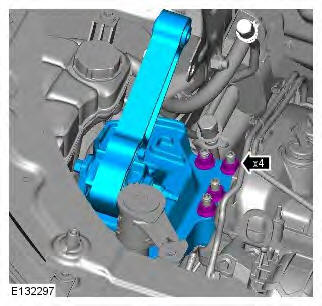
11. Torque: 45 Nm

Range Rover Evoque. Engine - GTDi 2.0L Petrol

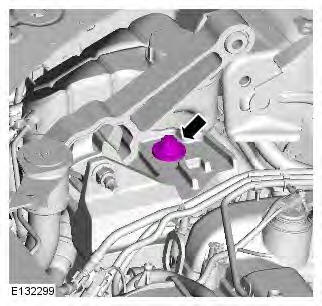
12. CAUTION: Protect the paintwork during this operation.
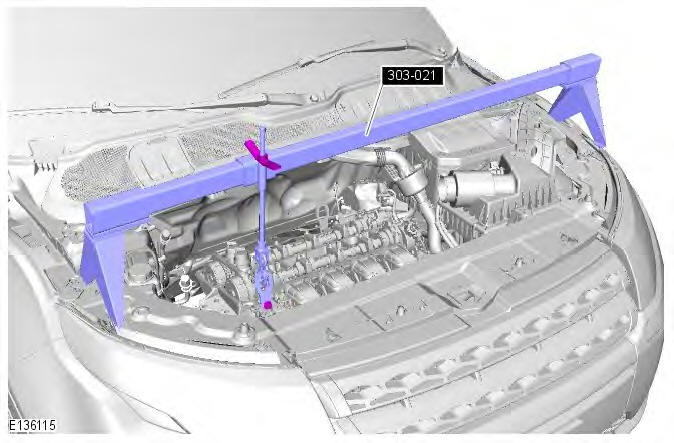
Range Rover Evoque. Engine - GTDi 2.0L Petrol

13.

Range Rover Evoque. Engine - GTDi 2.0L Petrol

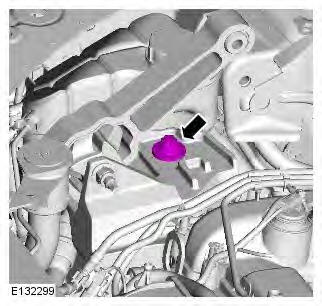
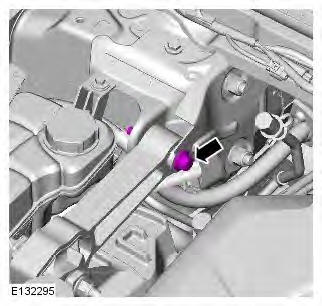
14. NOTE: Loosen the bolt, but do not fully remove.
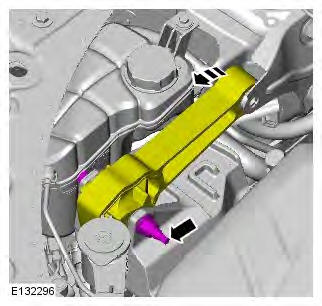
Range Rover Evoque. Engine - GTDi 2.0L Petrol

15.

Range Rover Evoque. Engine - GTDi 2.0L Petrol

16.

Range Rover Evoque. Engine - GTDi 2.0L Petrol

17.

Range Rover Evoque. Engine - GTDi 2.0L Petrol

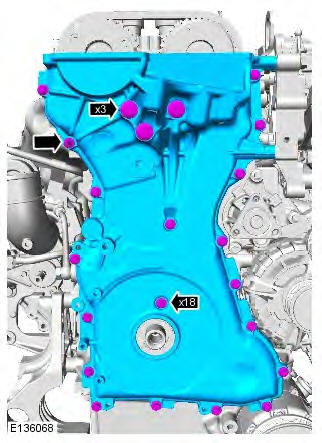
18. NOTE: Make sure that all traces of the old sealant are removed from the mating faces.
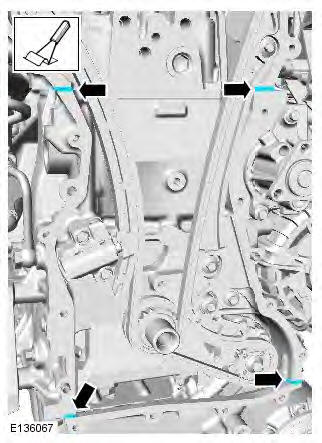
Range Rover Evoque. Engine - GTDi 2.0L Petrol

Installation

1. CAUTION: Apply sealant WSE-M4G323-A6 in a 4-7mm diameter on the engine front cover as shown.

The component must be installed and tightened within 10 minutes of sealant application.
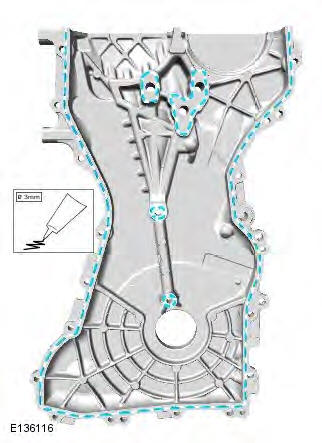
Range Rover Evoque. Engine - GTDi 2.0L Petrol

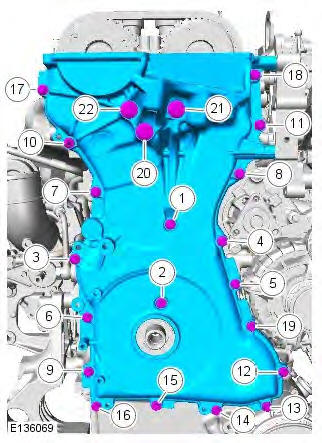
2. CAUTION: Tighten the bolts in the sequence shown.

Torque:

Range Rover Evoque. Engine - GTDi 2.0L Petrol

3. Torque: 80 Nm

Range Rover Evoque. Engine - GTDi 2.0L Petrol

4. Torque: 80 Nm

Range Rover Evoque. Engine - GTDi 2.0L Petrol

5. Torque: 110 Nm

Range Rover Evoque. Engine - GTDi 2.0L Petrol

6. NOTE: Loosen the bolt, but do not fully remove. Torque: 110 Nm
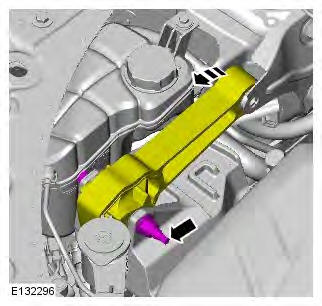
Range Rover Evoque. Engine - GTDi 2.0L Petrol

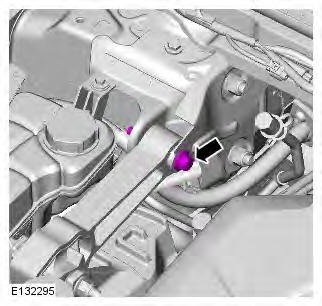
7. CAUTION: Protect the paintwork during this operation. Remove the special tool.

Special Tool(s): 303-021
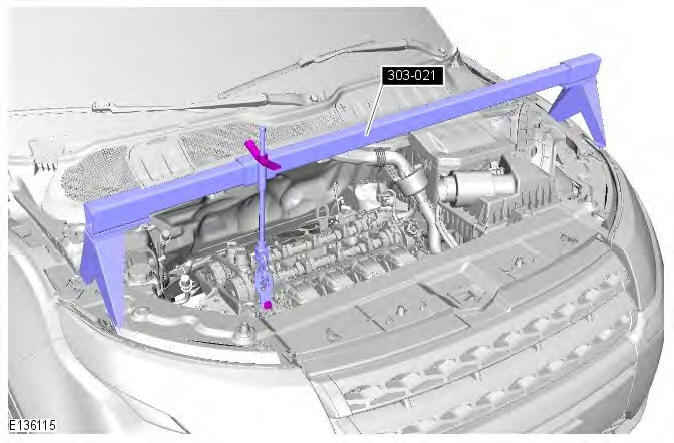
Range Rover Evoque. Engine - GTDi 2.0L Petrol

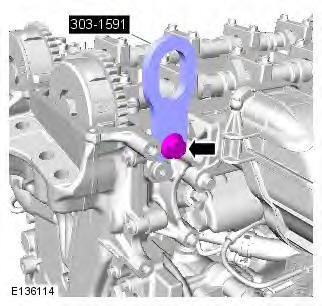
8. Remove the special tool.

Special Tool(s): JLR-303-1591
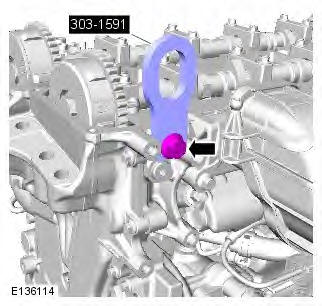
Range Rover Evoque. Engine - GTDi 2.0L Petrol

9. Torque: 6 Nm

Range Rover Evoque. Engine - GTDi 2.0L Petrol

10.

Range Rover Evoque. Engine - GTDi 2.0L Petrol

11. Torque: 24 Nm

Range Rover Evoque. Engine - GTDi 2.0L Petrol

12. Torque: 20 Nm

Range Rover Evoque. Engine - GTDi 2.0L Petrol

13. Torque: 25 Nm

Range Rover Evoque. Engine - GTDi 2.0L Petrol

14.

Range Rover Evoque. Engine - GTDi 2.0L Petrol

15. Refer to: Valve Cover (303-01B Engine - GTDi 2.0L Petrol, Removal and Installation).

16. Refer to: Crankshaft Pulley (303-01B Engine - GTDi 2.0L Petrol, Removal and Installation).

17. Refer to: Battery (414-01 Battery, Mounting and Cables, Removal and Installation).

READ NEXT:

 Valve Cover

Removal NOTES: Some illustrations may show the engine removed for clarity. Some variation in the illustrations may occur, but the essential information is always correct. Removal steps in this proc

 Engine - Removal and Installation

Removal Special Tool(s) 205-857 Remover, Halfshaft 1. Refer to: Battery Tray (414-01 Battery, Mounting and Cables, Removal and Installation). 2. Refer to: Air Conditioning (A/C) System Recovery, Evacu

 Engine Upper/Lower Support Insulator

Engine Upper Support Insulator Removal NOTES: Removal steps in this procedure may contain installation details. Some variation in the illustrations may occur, but the essential information is always

SEE MORE:

 Dealer locations

Details of Land Rover Dealers are held on the Navigation System hard drive as a points of interest (POI) category. Certain Dealers may be located in areas that are not fully mapped on the hard drive. If a route is set to one of these Dealers, guidance may only be possible to the nearest town c

 Front Stabilizer Bar Bushing

Removal NOTES: Some variation in the illustrations may occur, but the essential information is always correct. Removal steps in this procedure may contain installation details. 1. WARNING: Make sure to support the vehicle with axle stands. Raise and support the vehicle. 2. Remove the front wheels

© 2011-2024 Copyright www.rrevoque.org