Range Rover Evoque: Rear Door
Removal
NOTES:
Removal steps in this procedure may contain installation details.
Some variation in the illustrations may occur, but the essential information is always correct.
1. Disconnect the battery ground cable.
Refer to: Specifications (414-01 Battery, Mounting and Cables, Specifications).
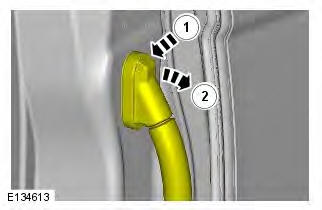
2.
3.
4.

5. CAUTION: Make sure the upper and lower hinge bolts are replaced.
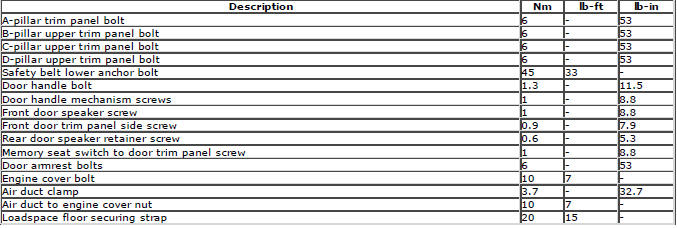
Torque:
Torx 25 Nm
Bolt 30 Nm
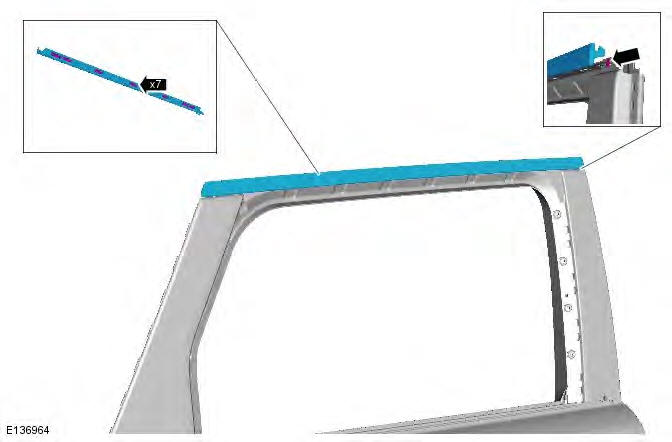
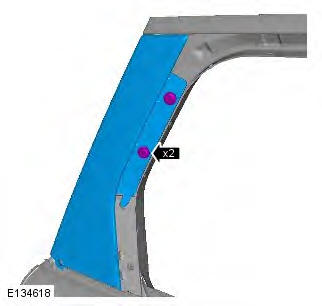
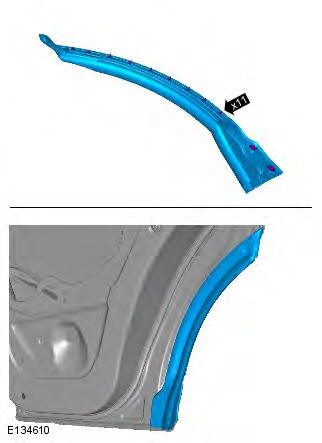
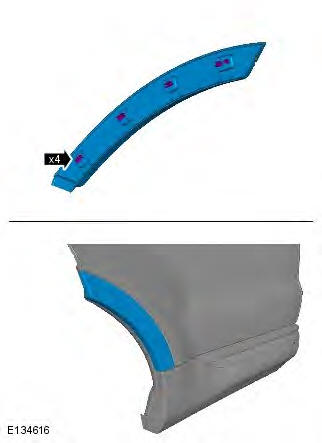
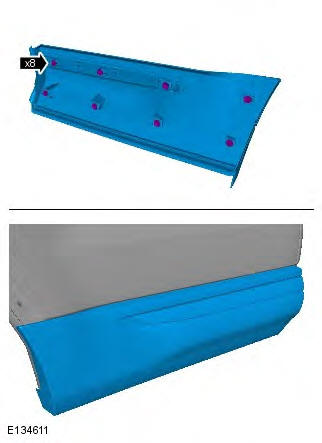
6. NOTE: Do not disassemble further if the component is removed for access only.
Refer to: Rear Door Trim Panel (501-05 Interior Trim and Ornamentation, Removal and Installation).
7. Refer to: Rear Door Window Regulator and Motor (501-11 Glass, Frames and Mechanisms, Removal and Installation).
8. Refer to: Rear Door Latch (501-14 Handles, Locks, Latches and Entry Systems, Removal and Installation).
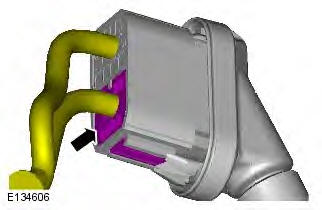
9. CAUTION: Take extra care not to damage the wiring harnesses.
10. Torque:
Bolt 35 Nm
Nut 12 Nm
11. Torque: 1.2 Nm
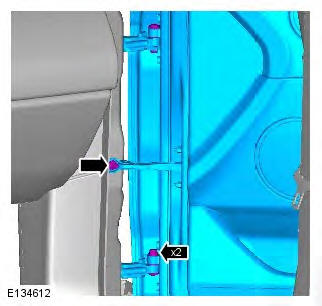
12.
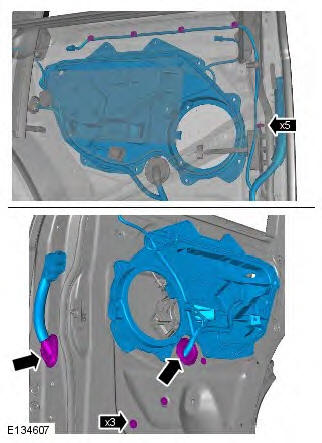
13.
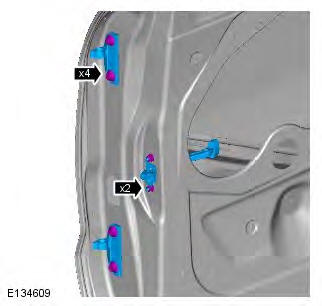
14. NOTES:
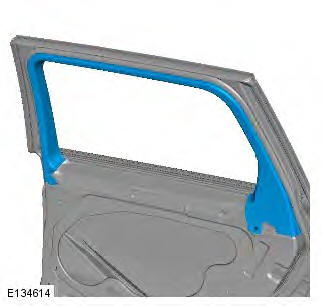
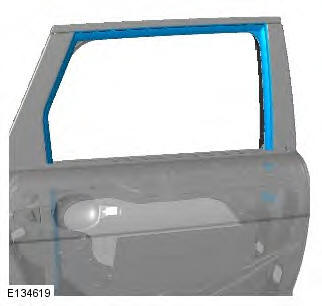
Release the seal from the 7 retaining clips by sliding the seal up.
Use a suitable soap solution to aid installation of the seal to the retaining clips.
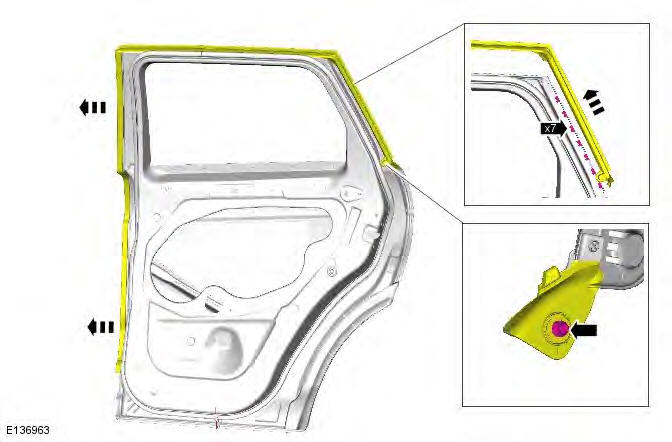
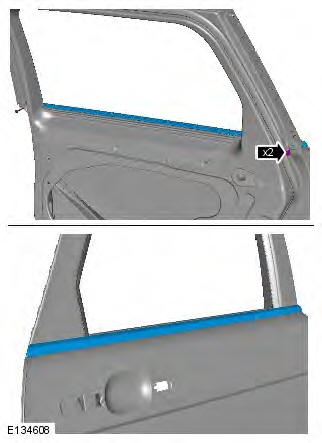
15. NOTE: Make sure the top corner of the trim panel is installed to the locating tang, as indicated.
16. Torque: 1.2 Nm

17. Torque: 1.2 Nm
18.
19.
20.
21.

Installation
1. To install, reverse the removal procedure.
Interior Trim and Ornamentation
Torque Specifications
READ NEXT:
 Fuel Filler Door
Removal
CAUTION: Make sure to protect the paintwork.
1.
Installation
1.
Fuel Filler Door Assembly
Removal
WARNING: Avoid flames, sparks or lighted substances.
CAUTION: Extreme cleanliness must be ex
Body Closures - Component Location, System Operation and Component
Description
Component Location
Powered Tailgate - Component Location
Tailgate module
Powered strut
Tailgate open button
Tailgate close button
Latch assembly
Powered cinch motor
Powered strut
OVERVIEW
Ta
SEE MORE:
Important information
The information contained in this handbook covers all vehicle derivatives and
optional equipment,
some of which may not be fitted to your vehicle. Due to printing cycles, this
handbook may include
descriptions of options before they become generally available.
The vehicle options, hardware an
Symbols used in this handbook
Safety warnings indicate either a procedure which must be followed
precisely, or
information that should be considered with great care, in order to avoid the
possibility
of personal injury.
Cautions indicate either a procedure which must be followed precisely, or
information that
should
